
BLADEBOSS
FLIGHT MANUAL · HOW-TO SERIES
GUIDE PREP-01 · REV A
Flight School for Your Lawn

How to Dethatch Your Lawn

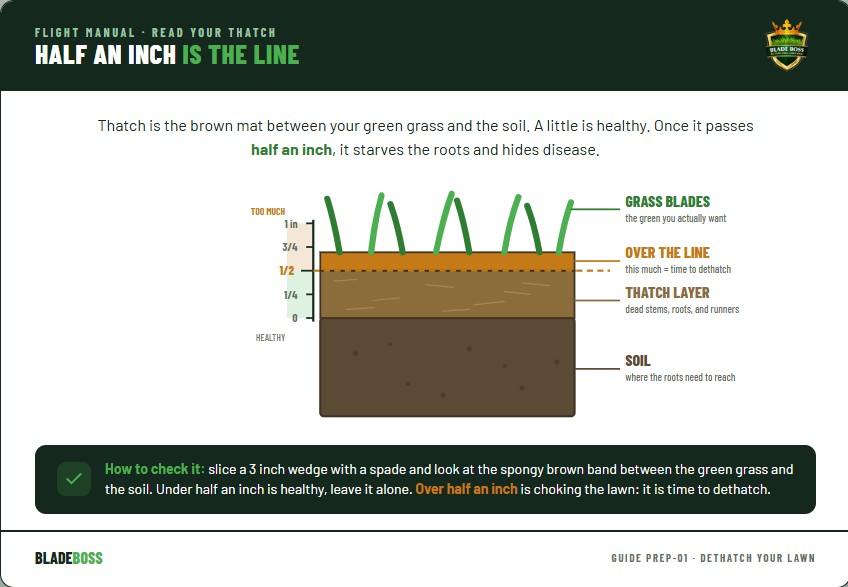
Thatch is the half-inch of dead stems and roots choking your lawn from the soil line up, and once it passes half an inch it blocks water, air, and fertilizer while it hides disease underneath. Dethatching pulls that mat out of the way so everything you do next actually reaches the soil. Do it in the right season, flag your sprinkler heads first, and pull it before you aerate and seed, and it is the single best move for resetting a tired lawn.

Updated Jul 2026
Difficulty
★★★★★
Active Time
1-3 Hours
Best Season
Late Summer / Fall
Cost
$35-$170

Pre-Flight Checklist - What You Need
TOP RATED
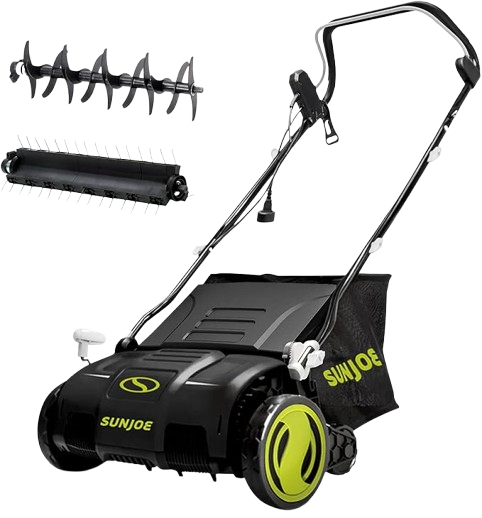
Sun Joe Electric Lawn Dethatcher & Scarifier - 15.0 in
$169.99
VIEW ON AMAZON →
BUDGET PICK
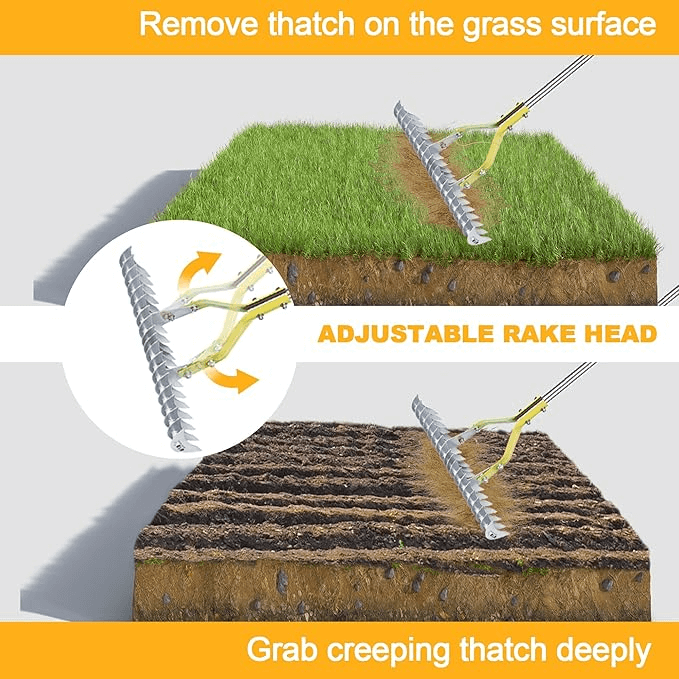
Manual Thatching Rake 15-Inch
$34.18
VIEW ON AMAZON →
RECOMMENDED
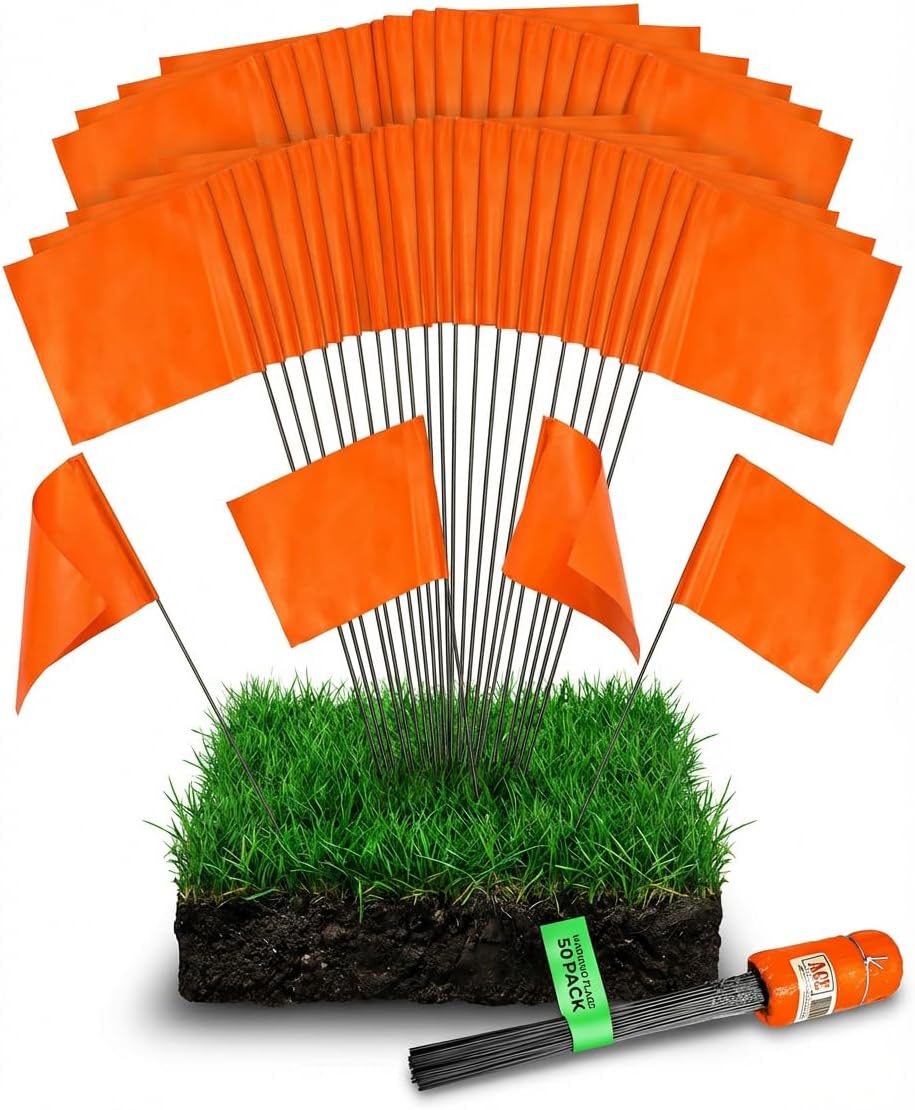
Marking Flags / Lawn Stakes
$38.24
VIEW ON AMAZON →

As an Amazon Associate, Blade Boss earns from qualifying purchases. It never costs you a penny more.

Mission BriefingA thin thatch layer is a good thing: it insulates the crowns and cushions foot traffic. The problem starts at about half an inch. Past that, water beads off the top, fertilizer never reaches the roots, and the mat becomes a warm, damp motel for fungus. This guide is about pulling out the excess, not scalping every blade of dead material off your lawn.

Rules of Engagement (ROE's)

Always
Confirm your thatch is over half an inch before you start.
Flag every sprinkler head, irrigation line, dog-fence wire, and shallow cable first.
Dethatch during active growth: early fall or spring, never in heat or dormancy.
Mow low and bag the clippings so the tines can reach the thatch.
Start with a shallow blade depth and raise it only if it is barely biting.
Rake up and haul off every bit of pulled thatch the same day.
Never
Dethatch a lawn with under half an inch of thatch.
Run the machine over unmarked heads or wires.
Set the tines deep enough to gouge soil instead of pulling thatch.
Dethatch drought-stressed, dormant, or newly seeded turf.
Leave the pulled thatch sitting on the lawn to smother it.
Dethatch and then skip overseeding the bare seedbed you just opened up.

The Flight Plan - Step by Step

Confirm You Actually Need It

Do not dethatch on a hunch, measure first. Cut a small wedge of turf about three inches deep with a spade and lift it out. Between the green grass and the dark soil you will see a spongy brown fibrous layer. That is your thatch. Under half an inch is healthy, leave it alone. Over half an inch is choking the lawn and needs to come out.
Pro TipGrass type predicts thatch. Aggressive spreaders like Kentucky bluegrass build it fast through rhizomes. Bunch-type grasses like tall fescue and perennial ryegrass barely make any and rarely need this at all.
Cross-section diagram of a lawn showing green grass blades, the brown thatch layer, and soil below, with a ruler marking the half-inch dethatching threshold
A thatch layer over half an inch chokes the roots. That is your signal to dethatch.

Time It Right

Dethatching is surgery. The lawn only heals if it is actively growing when you do it. For cool-season grass on Long Island that means late summer into early fall, roughly late August through September, or a secondary window in early spring once the lawn greens up and starts pushing.

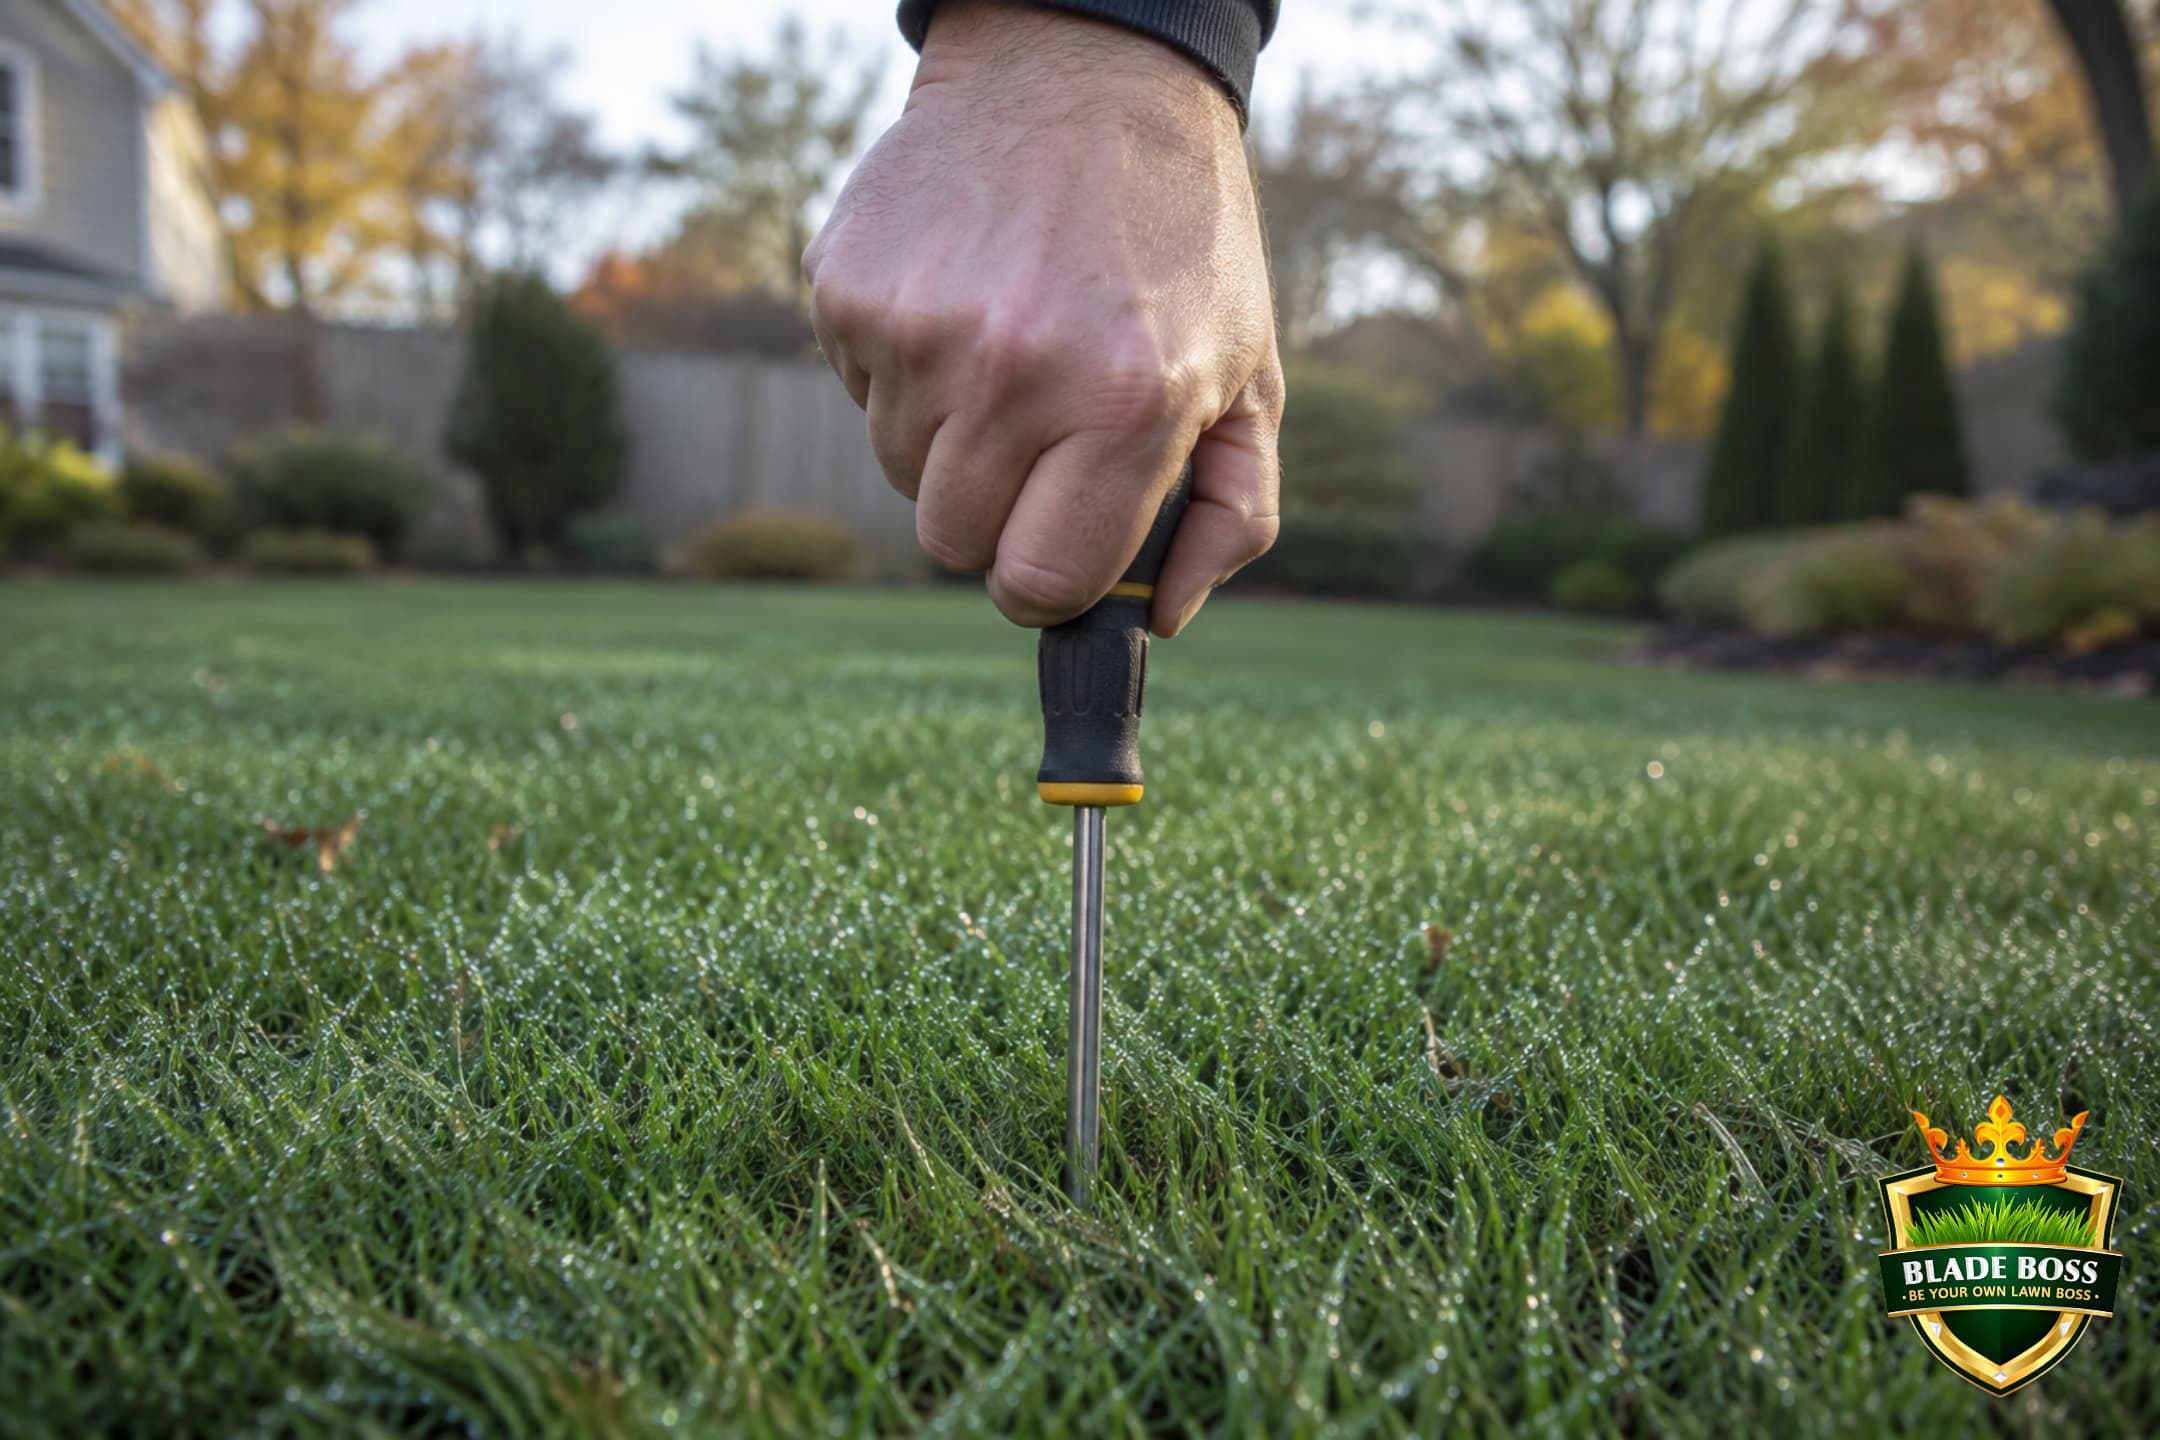
Water lightly a day or two before so the soil is moist but not soggy. Bone-dry soil fights the tines; saturated soil lets them rip out live crowns along with the thatch. The grass blades themselves should be dry when you run the machine.
Hold ShortNever dethatch in summer heat, during a drought, or when the lawn is dormant. Stressed turf does not bounce back from this, it just dies in strips. If in doubt, wait for the fall window.
Hold ShortHold Short - spring dethatching: if you must go in spring, wait until late April or May, once soil is above 55F and the grass is actively growing, not just green. Never power dethatch in March, the turf is too fragile and you will kill sections that have not broken dormancy. And know the cost: if you applied crabgrass pre-emergent, dethatching destroys that barrier. Plan on a post-emergent in May or June. September avoids all of this. Full timing breakdown: the Northeast dethatching guide.
Testing lawn soil moisture before dethatching by pushing a long screwdriver into the turf
Push a screwdriver in the day before. If the soil is moist but not soggy, you are ready.

Mow Low and Clear the Deck

Drop your mower one or two settings and cut the lawn to about one and a half to two inches, roughly half its normal height. This gets the green canopy out of the way so the dethatcher reaches the thatch instead of just combing the grass.

Bag the clippings and clear any sticks, rocks, or toys off the lawn. You want a clean deck before the blades start spinning.
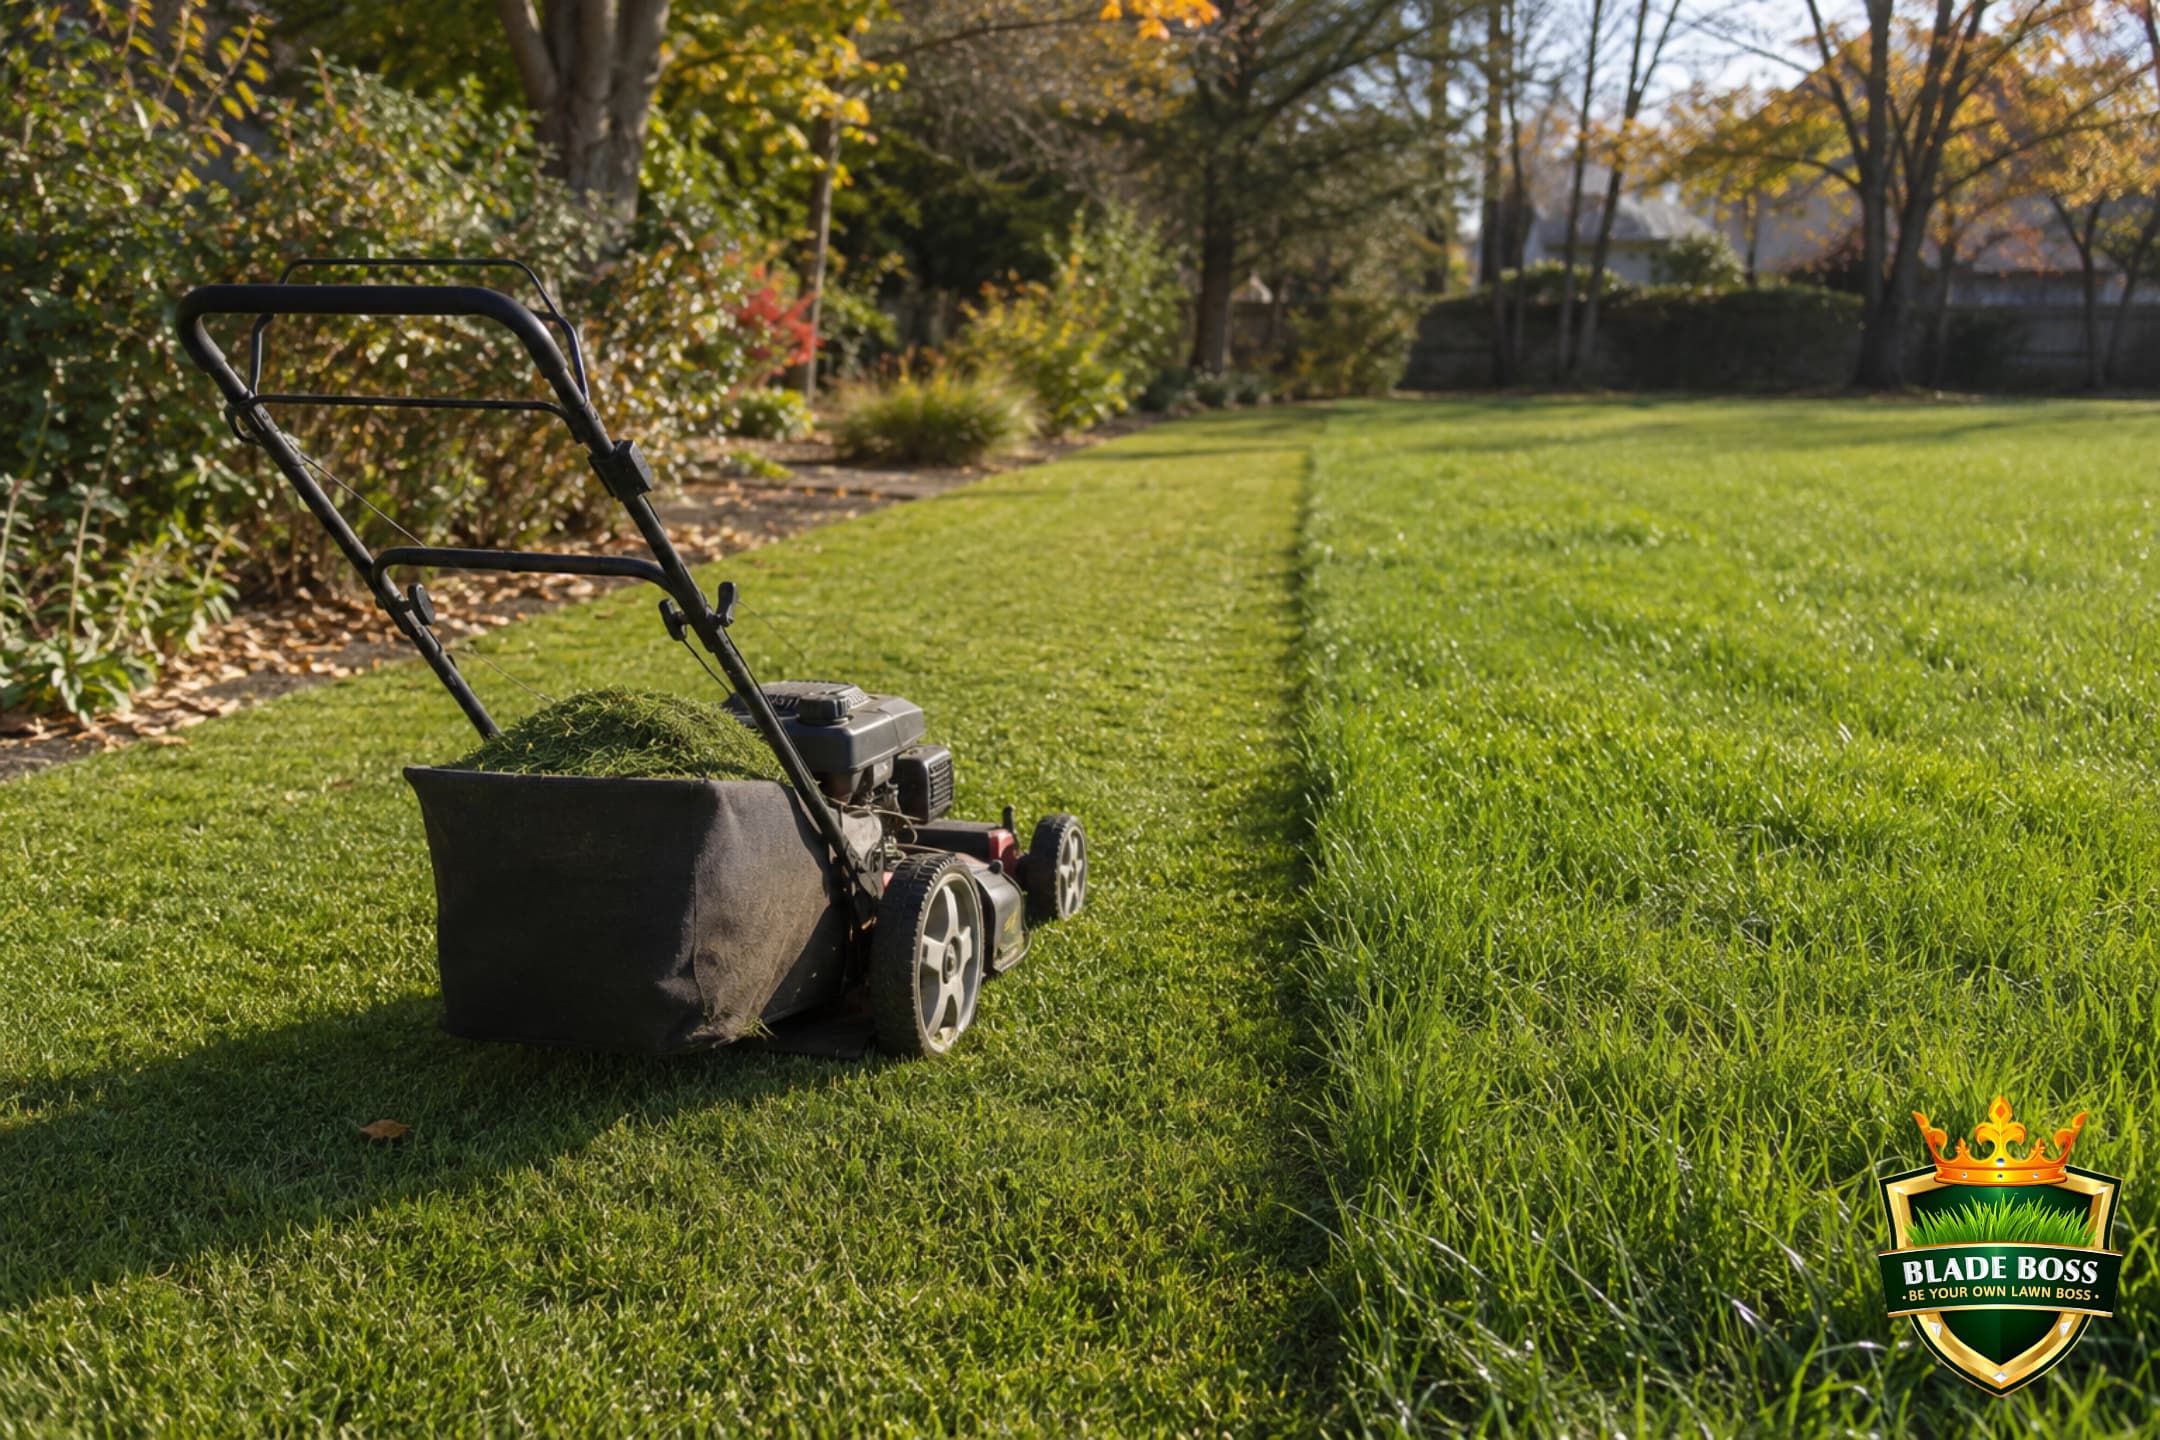
Lawn mowed short with a bagger attached before dethatching, showing the low cut height
Cut to about one and a half to two inches and bag the clippings so the tines can reach the thatch.

Flag Everything That Can Get Shredded

This is the step that saves you a very bad afternoon. Walk the entire yard and drop a marking flag on every sprinkler head, shallow irrigation line, invisible dog-fence wire, and shallow cable or utility line. Run your irrigation zones for a few seconds first so every head pops up and you can see it.
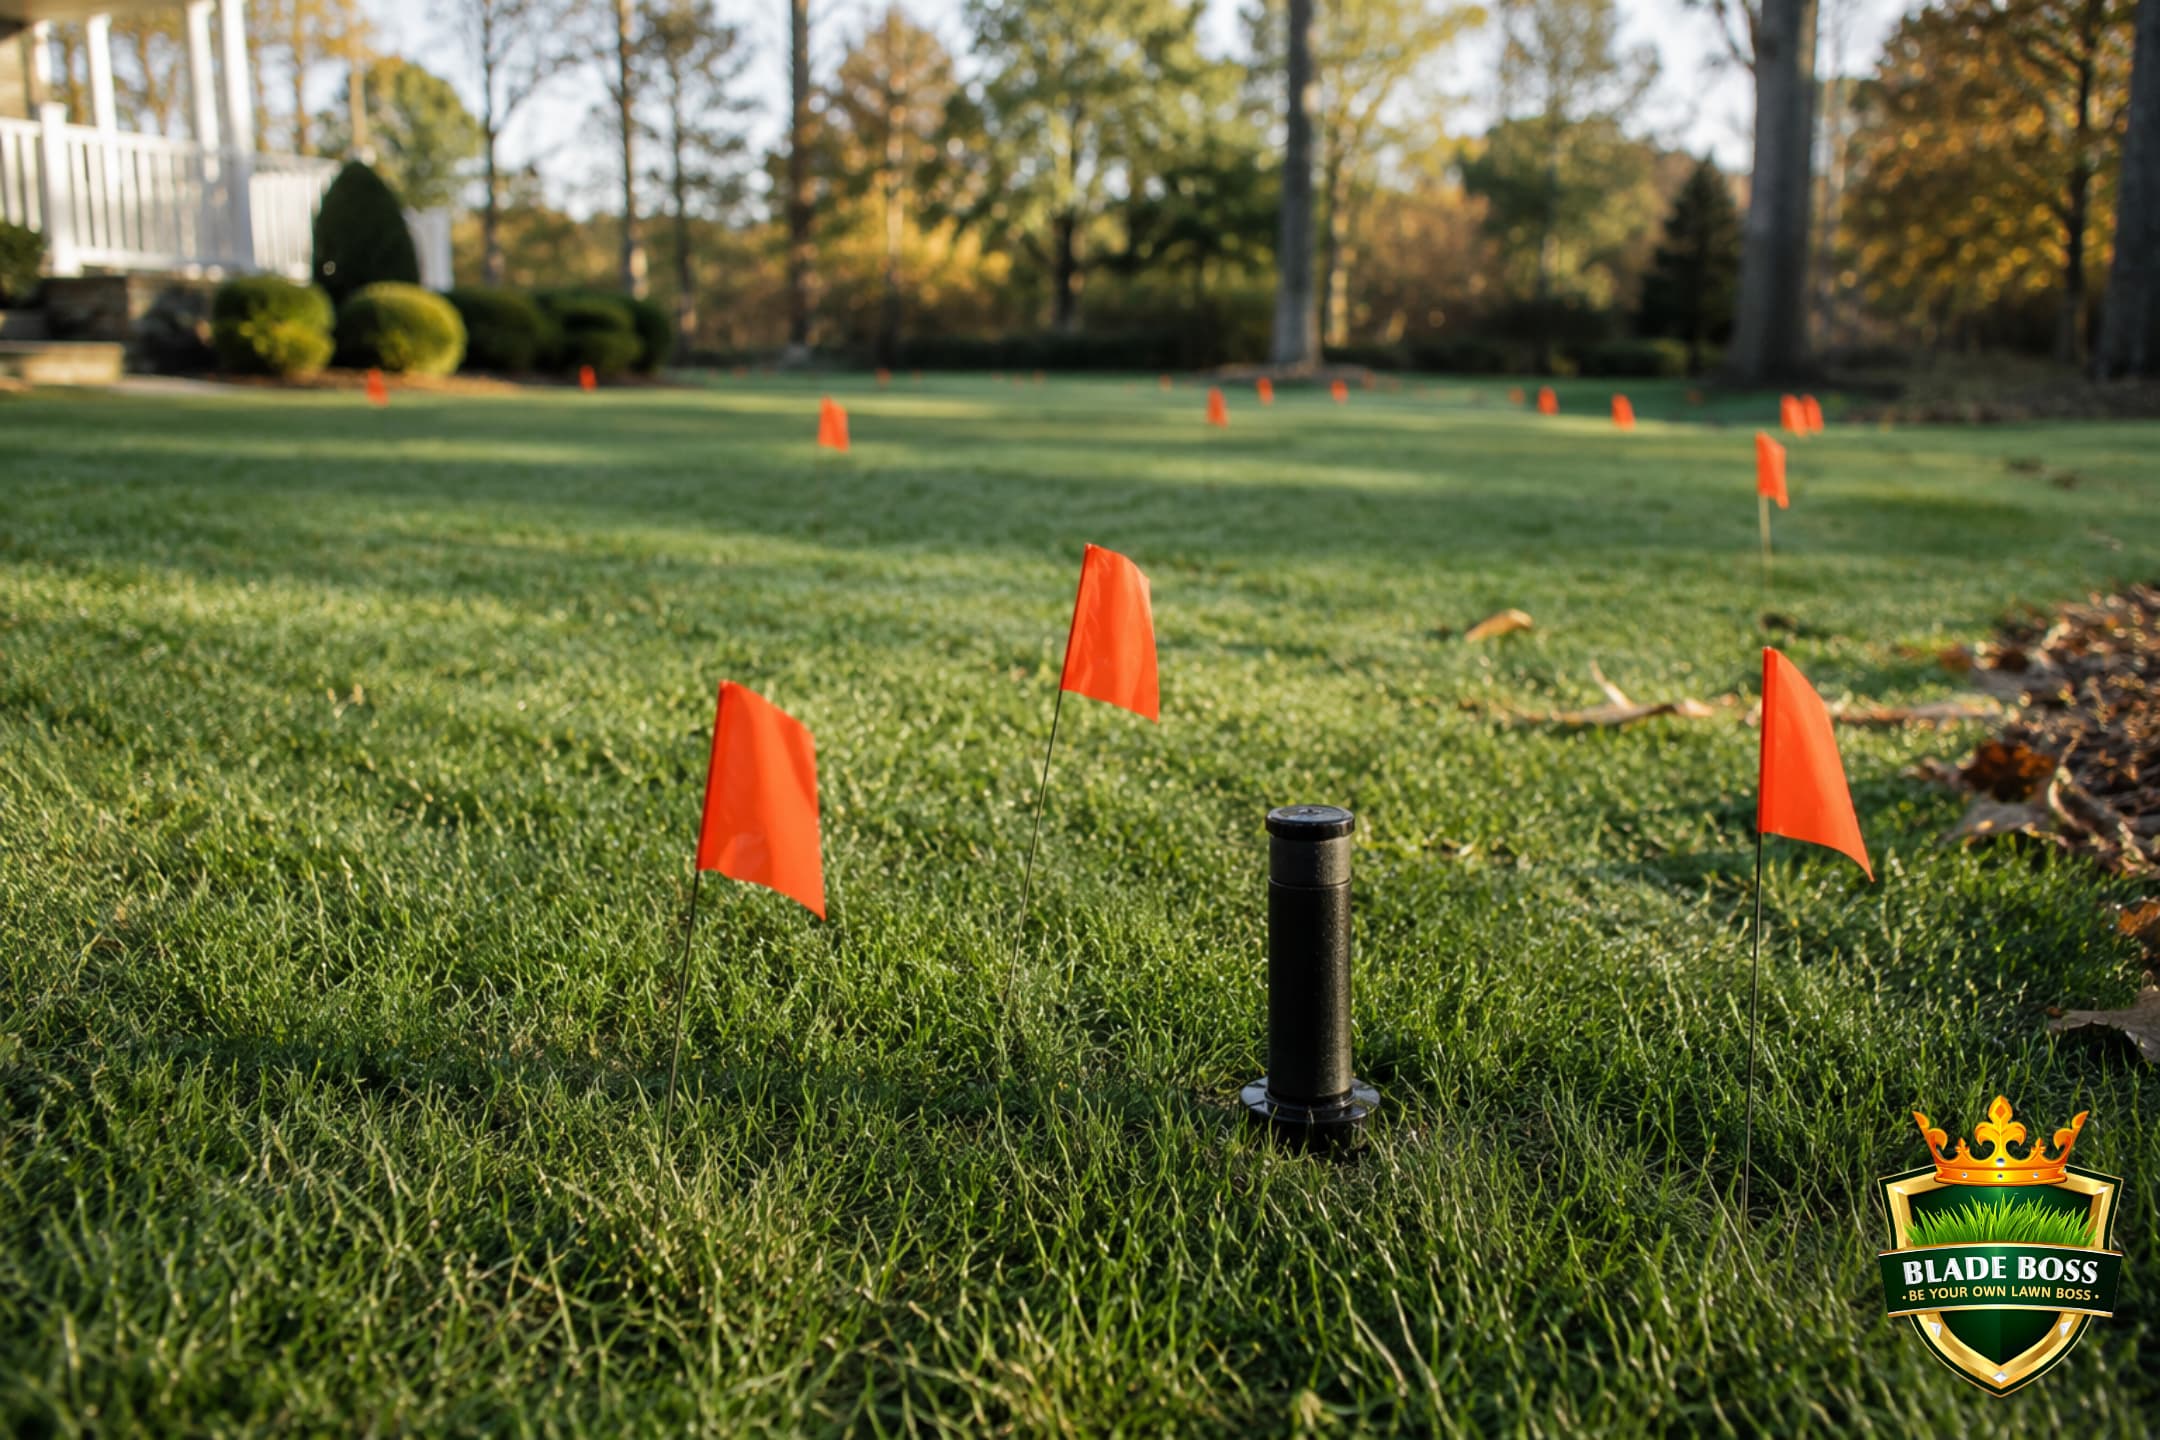
Hold ShortHold Short: dethatcher tines will chew a sprinkler head or slice a dog-fence wire in a heartbeat, and you will not feel it happen. One shredded head is a $500 repair and a wrecked weekend. Flag first, mow around the flags, dethatch around the flags. No exceptions.
Orange marking flags placed around a pop-up sprinkler head in a lawn before dethatching
Flag every head, line, and wire first. This is the step that saves you a $500 repair.

Set Your Depth and Make Your Passes

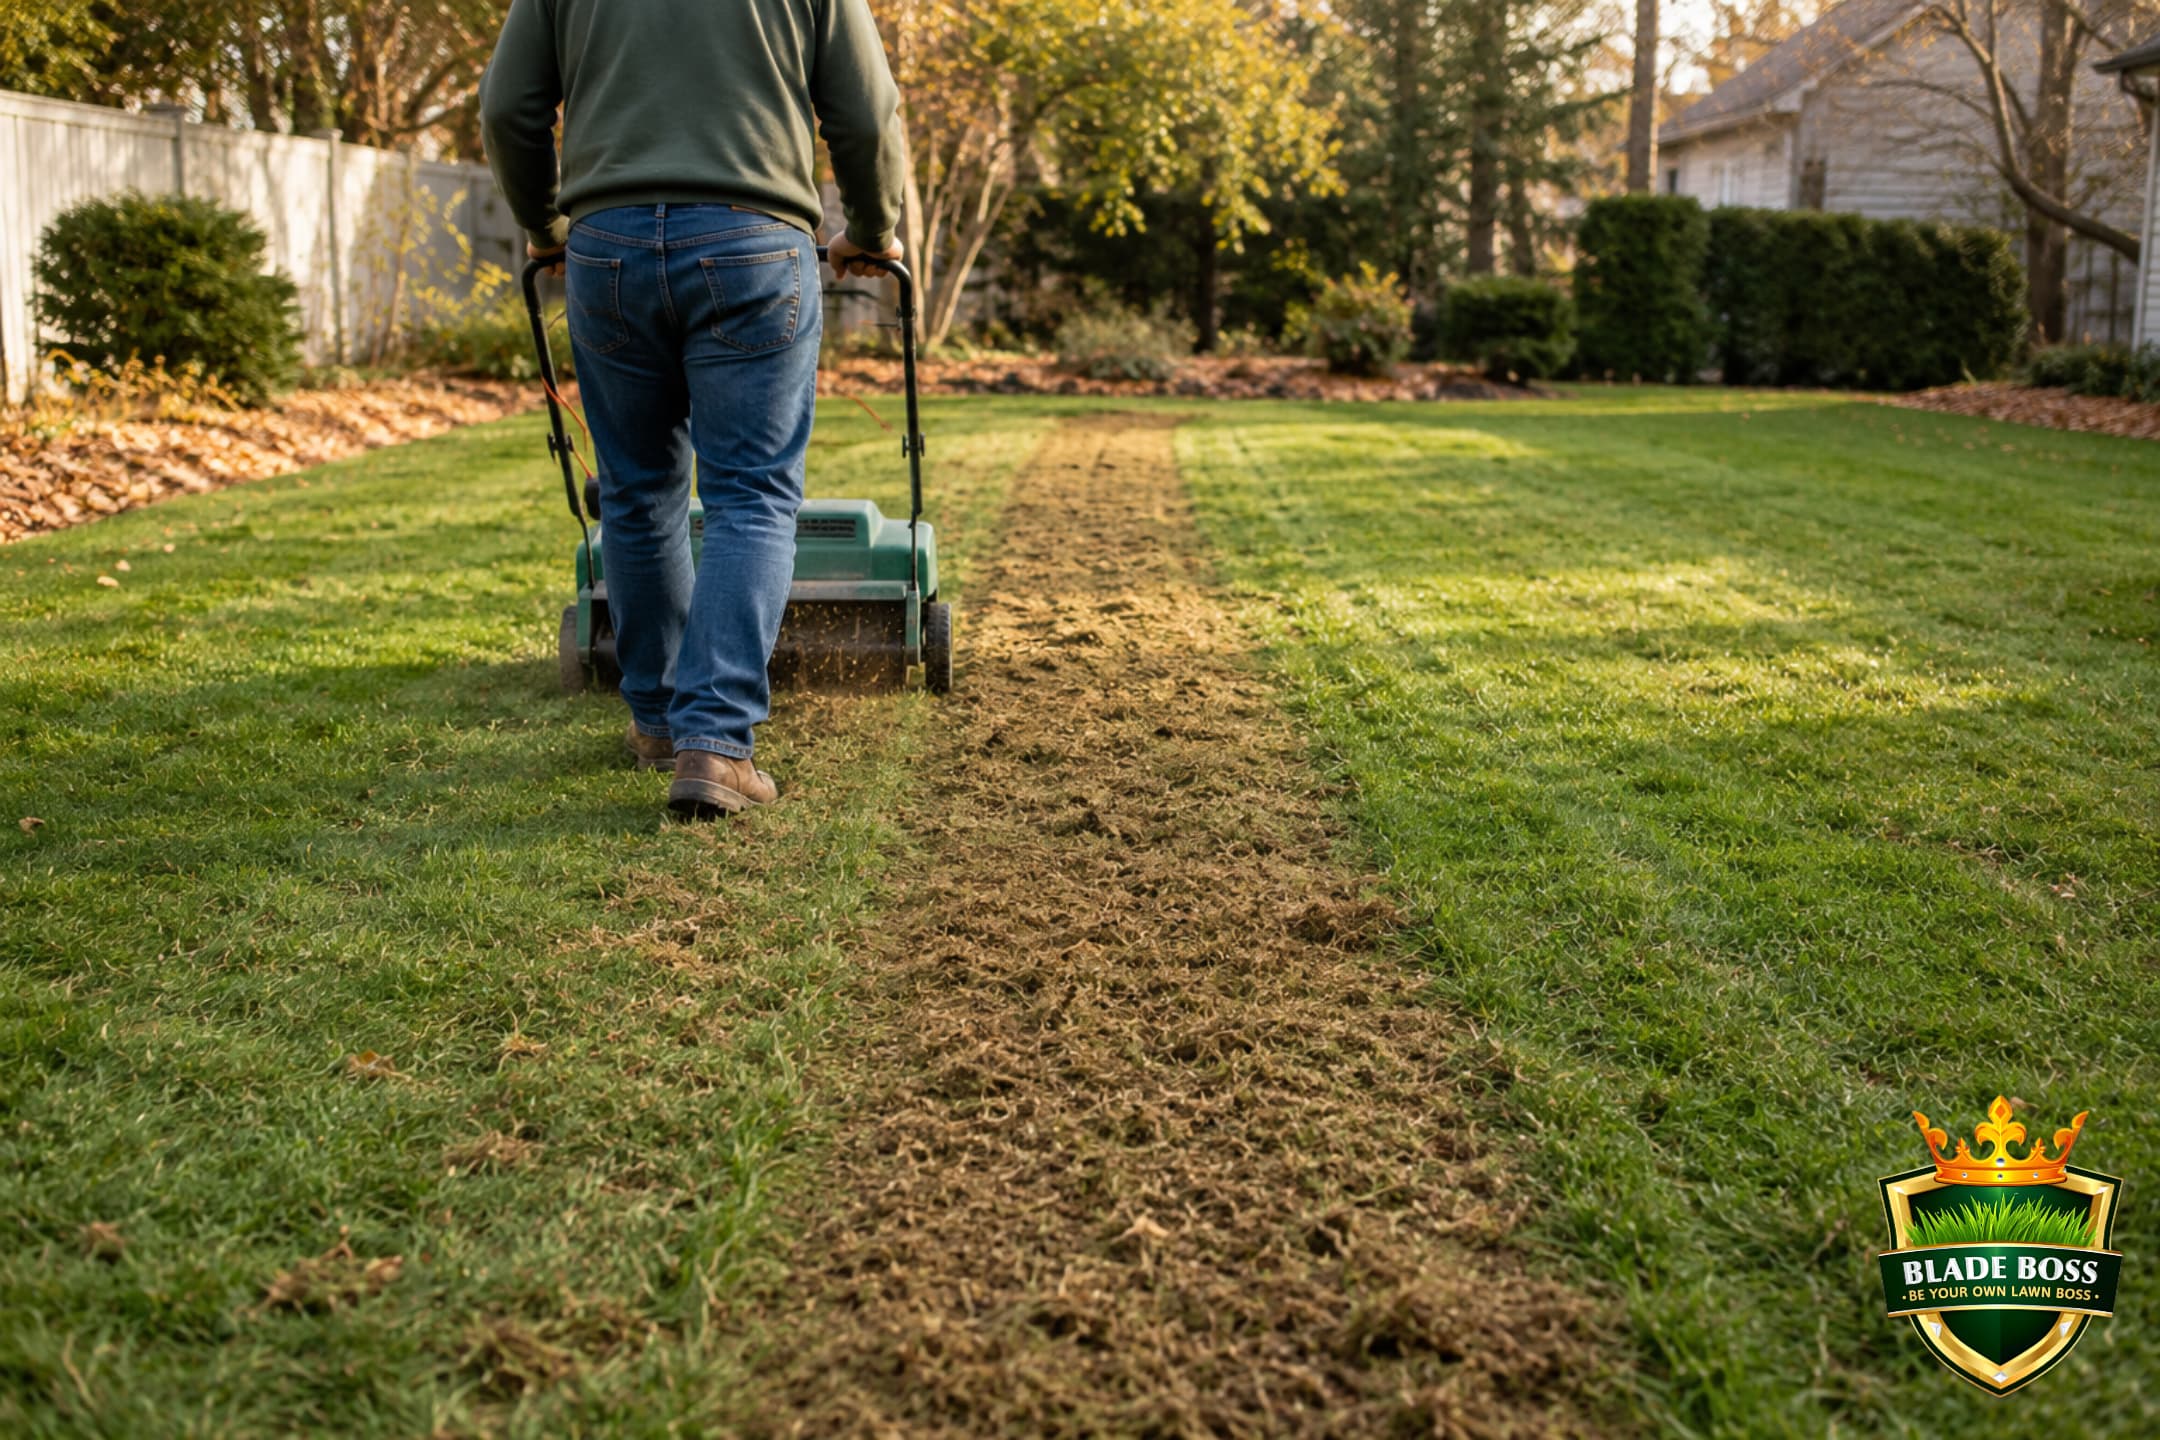
Set the blade or tine depth shallow to start, just deep enough to nick the thatch layer, not to dig into the soil. Run one test strip and look at what comes up. If it is pulling brown thatch, you are set. If it is flinging dirt and green crowns, raise it.

Make one pass across the whole lawn. For a heavy, matted thatch layer, make a second pass at a perpendicular angle, like mowing a checkerboard. A typical homeowner lawn takes both passes and about four hours if you are renting the machine.
Hold ShortDo not chase perfection with the depth dial. You are pulling thatch, not tilling a garden bed. Going too deep tears out healthy grass and scalps the lawn down to dirt, which is far worse than leaving a little thatch behind.
Pro TipThe bungee trick (do this): the collection bag on an electric dethatcher fills up almost immediately, and stopping every couple of minutes to empty it turns a one hour job into three. Skip the bag entirely. Hook a bungee cord under the rear door to hold it open and let the machine throw the thatch straight out the back as you go. You run the whole lawn without stopping, then rake it all up in one pass at the end. Fair trade to know about: with the door propped, debris ejects out the back at ankle height, so wear eye protection, keep kids, pets, and windows out of the discharge path, and do not let anyone walk behind you.
Pro TipOn the motor: the manual warns against long continuous runs on an electric unit, and in heavy thatch it will bog and heat up. In practice this has not been a problem on a typical homeowner lawn. Use common sense: if it starts smelling hot or noticeably bogging down, raise the depth a notch and give it a rest. Do not fight a thick mat at max depth.
Electric lawn dethatcher scarifier pulling brown thatch to the surface mid-pass, leaving a clear raked strip
One pass pulls the thatch up. For a heavy mat, make a second pass at a perpendicular angle.

Rake Up and Haul Off the Debris

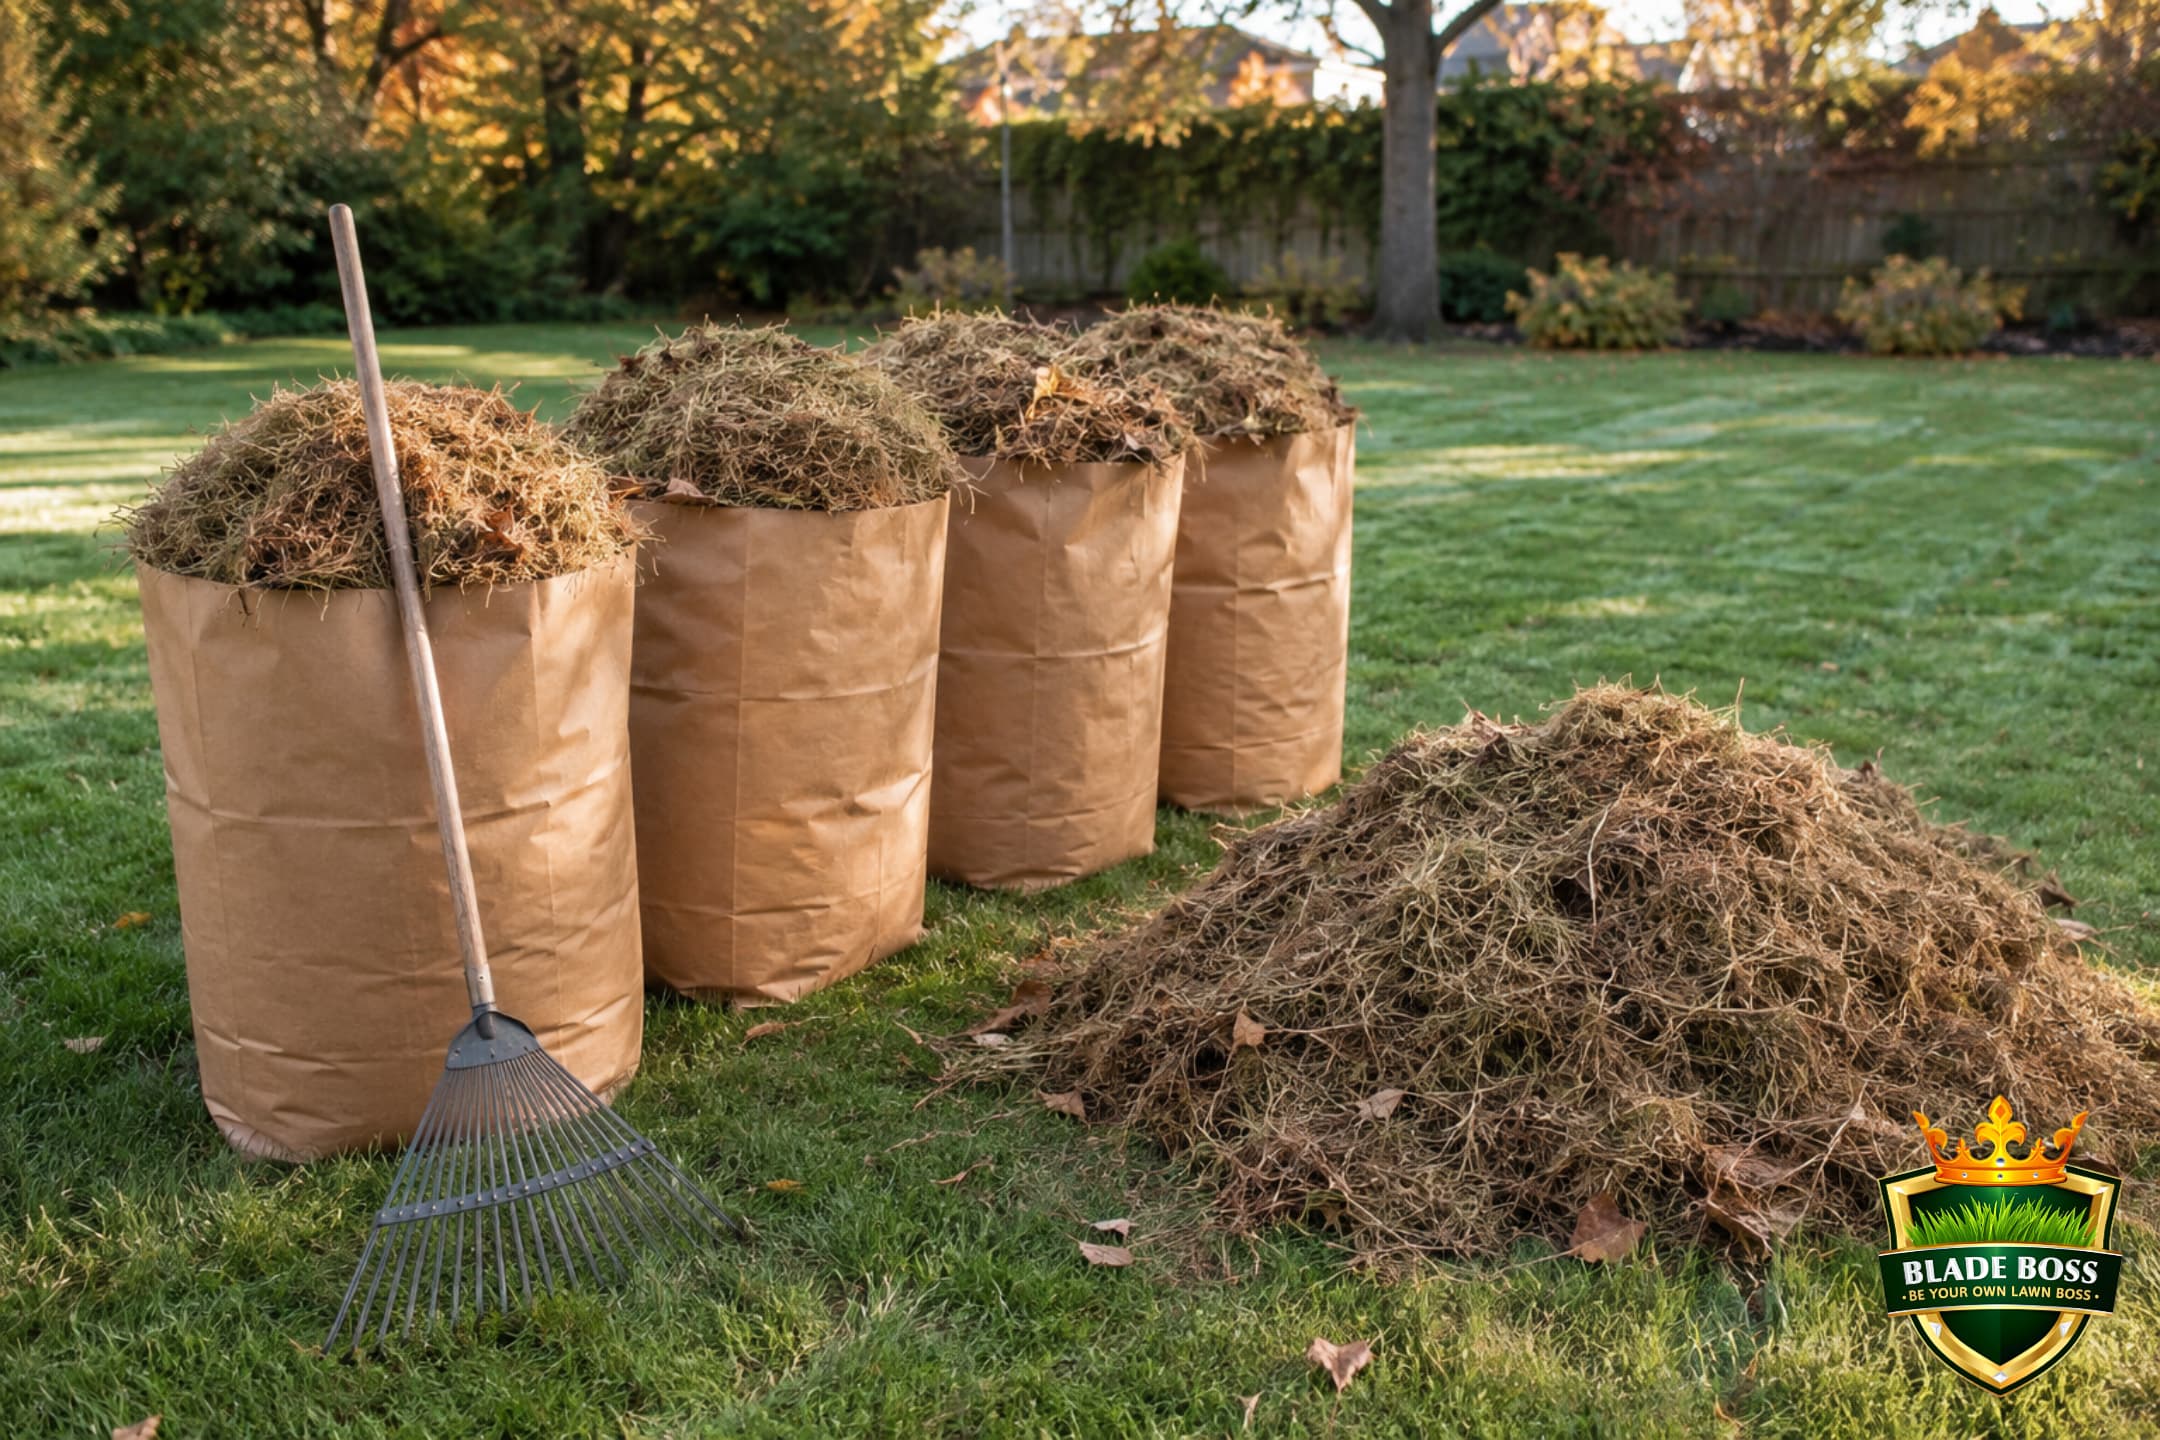
Dethatching pulls up a shocking amount of material. First-timers are always stunned by the pile. Rake it all into rows, bag it or tarp it, and get it off the lawn the same day. Left in place, it mats back down and smothers the grass you just worked to save.
Pro TipThat pile is pure organic matter. If it is free of weed seed and disease, it composts beautifully. Otherwise, bag it for yard-waste pickup.
Full lawn-and-leaf bags of brown thatch removed from a lawn after dethatching
The volume shocks everyone. Bag it and haul it off the same day.

Move Straight Into Aerate, Seed, and Feed

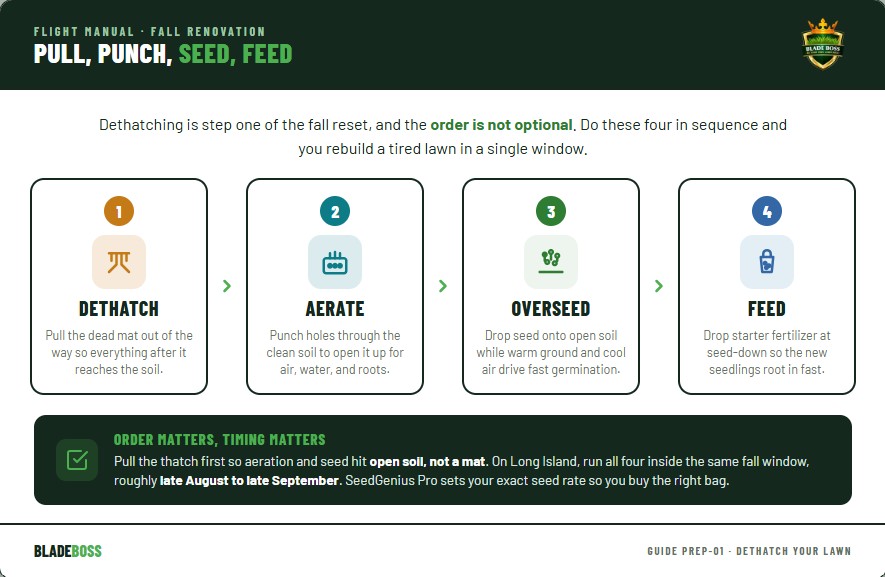
You just built the best seedbed you will have all year: bare soil, exposed and ready. Do not waste it. The correct order is dethatch, then aerate, then overseed, then starter fertilizer, all inside the same fall window. Pulling the thatch first is what makes the aeration and the seed-to-soil contact actually work.

This is exactly where your seeding rate matters. Too little seed leaves bare spots, too much wastes money and causes seedlings to fight each other. Run your numbers before you buy a single bag.
Pro TipThe best dethatching is the dethatching you never have to do. Core aerate every September and you will rarely need to power dethatch at all. The soil cores dropped on the surface seed microorganisms directly into the thatch layer and speed up decomposition, which keeps most Northeast lawns under the half inch line on their own, even KBG-heavy ones.
Fall lawn renovation sequence diagram showing the correct order: dethatch, then aerate, then overseed, then apply starter fertilizer
The order is not optional. Pull the thatch first so aeration and seed reach open soil.
How thick is your thatch layer?
IF Under half an inch
Leave it alone. That is healthy thatch doing its job. Skip dethatching entirely and go straight to core aeration and overseeding. Get your exact seed rate first so you do not over- or under-seed. Get your rate in SeedGenius Pro →
IF Half an inch to three-quarters
One pass with an electric scarifier or a rented power rake handles it. Then aerate, overseed, and feed while the soil is open.
IF Over three-quarters of an inch (thick, spongy mat)
Rent a gas power rake and make two perpendicular passes, and expect a huge cleanup. If the mat is severe, split the work across two seasons rather than scalping the whole lawn down to bare dirt in one shot.

The Zone 7B Fall Renovation Window

Members get the exact Long Island date windows and the full dethatch-to-seed sequence, tied to soil temperature instead of guesswork, plus the printable field checklist.

Unlock with Membership →

Abort Criteria - Common Mistakes

Dethatching a lawn with under half an inch of thatch. Measure first. Under half an inch is healthy and you are just stressing the lawn for no reason.
Setting the blades deep enough to fling soil and roots. You are pulling thatch, not tilling. Start shallow, test one strip, and raise the depth only if it is barely biting.
Running the machine before flagging heads and wires. Walk the yard with flags first. One shredded sprinkler head or dog-fence wire is a $500 afternoon.
Running the dethatcher with the collection bag on and stopping every two minutes to empty it. Bungee the rear door open, ditch the bag, and let it discharge out the back. Run the whole lawn in one go, then rake it all up at the end.
Dethatching in July heat or during a drought. Wait for active growth in early fall or spring. Stressed turf does not recover, it dies in strips.
Leaving the pulled thatch on the lawn. It mats back down and smothers the grass. Rake and haul it all off the same day.
Dethatching and then not seeding. You just opened a perfect seedbed. Aerate, overseed, and drop starter fert while the soil is exposed.

Mission Complete. Now Fly the Plan.

Pulling the thatch is step one of the fall reset. The payoff comes when you aerate, overseed, and feed that open soil in the same window. Run your exact seeding rate in SeedGenius Pro so you buy the right amount of the right seed for your grass type and zone, and leave no bare spots behind.

Open SeedGenius Pro →▶ VIDEO WALKTHROUGH - COMING SOON

Crew Questions - FAQ

How do I know if my lawn needs dethatching?

Cut a three-inch wedge of turf and look at the brown spongy layer between the green grass and the soil. Under half an inch is healthy and should be left alone. Over half an inch is choking the lawn and should come out.

Do grass clippings cause thatch?

No, and this is the most common thatch myth there is. Grass clippings are 80 to 85 percent water and break down within days. Research from Cornell, Rutgers, and Penn State all confirms that mulching your clippings does not increase thatch. It actually helps: mulched clippings return up to a pound of nitrogen per 1,000 square feet per year back to your lawn. Real thatch comes from aggressive rhizome-producing grasses like Kentucky bluegrass, over-fertilizing, and skipping core aeration. Keep mulching.

Should I dethatch or aerate first?

Dethatch first. Thatch is a physical barrier, so you pull it out of the way, then aerate through clean soil and drop seed. Aerating through a thick mat just punches holes in the thatch instead of the soil.

When is the best time to dethatch a cool-season lawn?

During active growth so it recovers fast. On Long Island (Zone 7B) that means late summer to early fall, roughly late August through September, or early spring. Never in summer heat or when the lawn is dormant or drought-stressed.

Will dethatching hurt or kill my grass?

Done at the wrong time or too aggressively, yes. Dethatching in heat or dormancy, or gouging into the soil, tears out healthy crowns. Done during active growth at a shallow depth, the lawn comes back thicker, especially if you overseed right after.

How often should I dethatch my lawn?

Only when thatch exceeds about half an inch, not on a fixed schedule. Bunch-type grasses like tall fescue and perennial ryegrass rarely need it. Aggressive spreaders like Kentucky bluegrass may need it every few years. Measure first, every time.

All Guides