

GUIDE MOW-01 · REV A
How to Sharpen Your Lawn Mower Blades
A dull blade tears your grass instead of cutting it, and torn tips brown out, lose water, and let disease walk right in. Sharpening is the highest-leverage fifteen minutes in lawn care, and it is dead simple once you know the four things that actually matter: cut the power, keep the factory angle, balance it, and torque it to spec.
Pre-Flight Checklist - What You Need
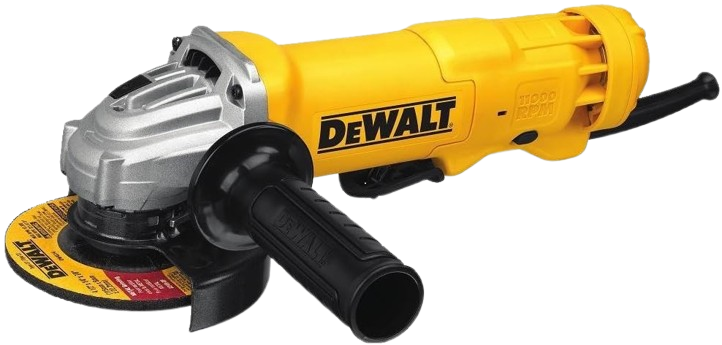
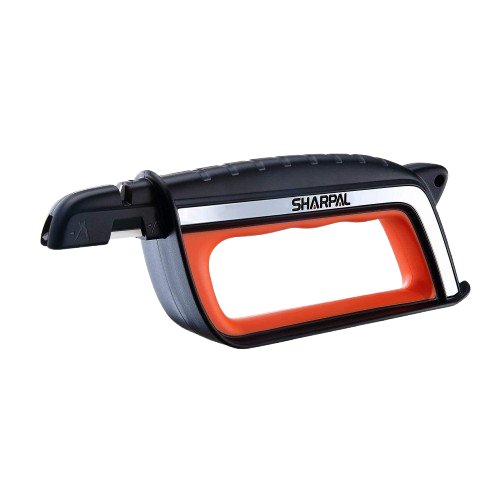
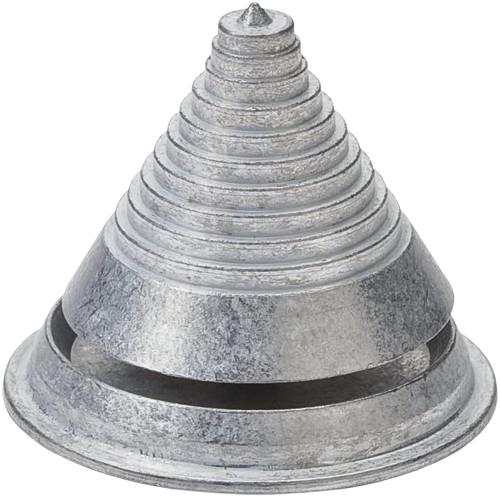
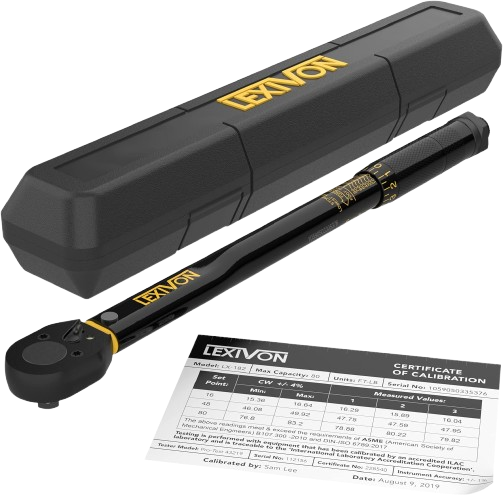
As an Amazon Associate, Blade Boss earns from qualifying purchases. It never costs you a penny more.
Rules of Engagement (ROE's)
The Flight Plan - Step by Step
Cut the Power
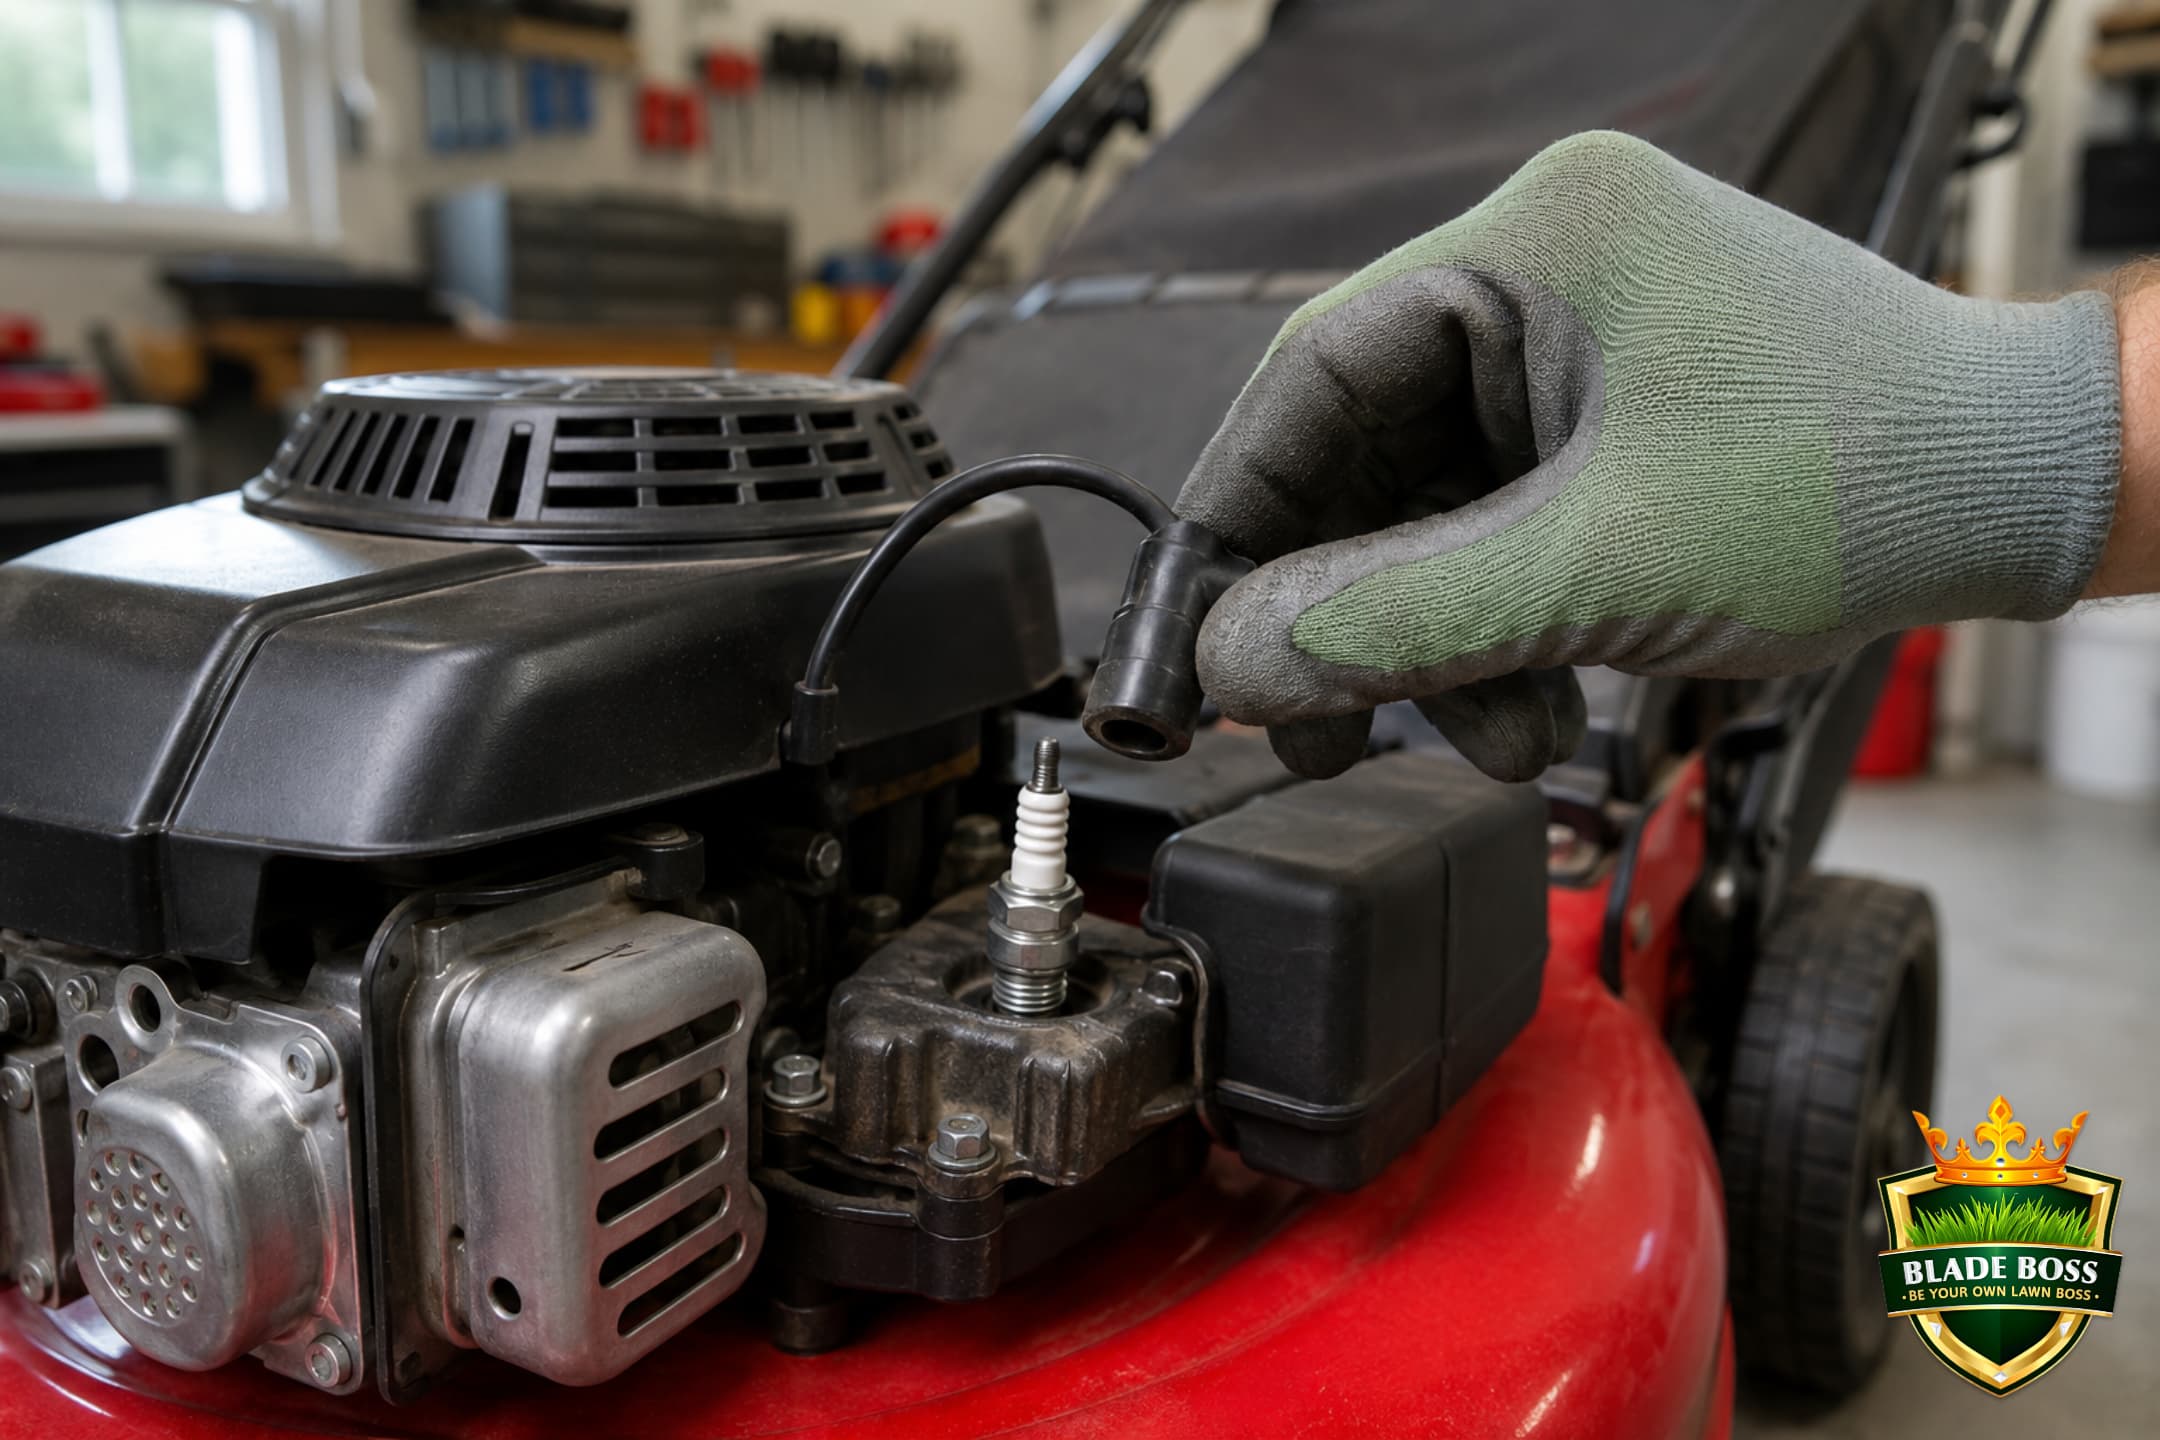
Before anything else, kill the mower's ability to start. A gas mower does not need to be running to hurt you. Rotate the blade by hand with the spark plug connected and the engine can fire a single compression stroke, and that is all it takes to lose a finger.
Tip It the Right Way
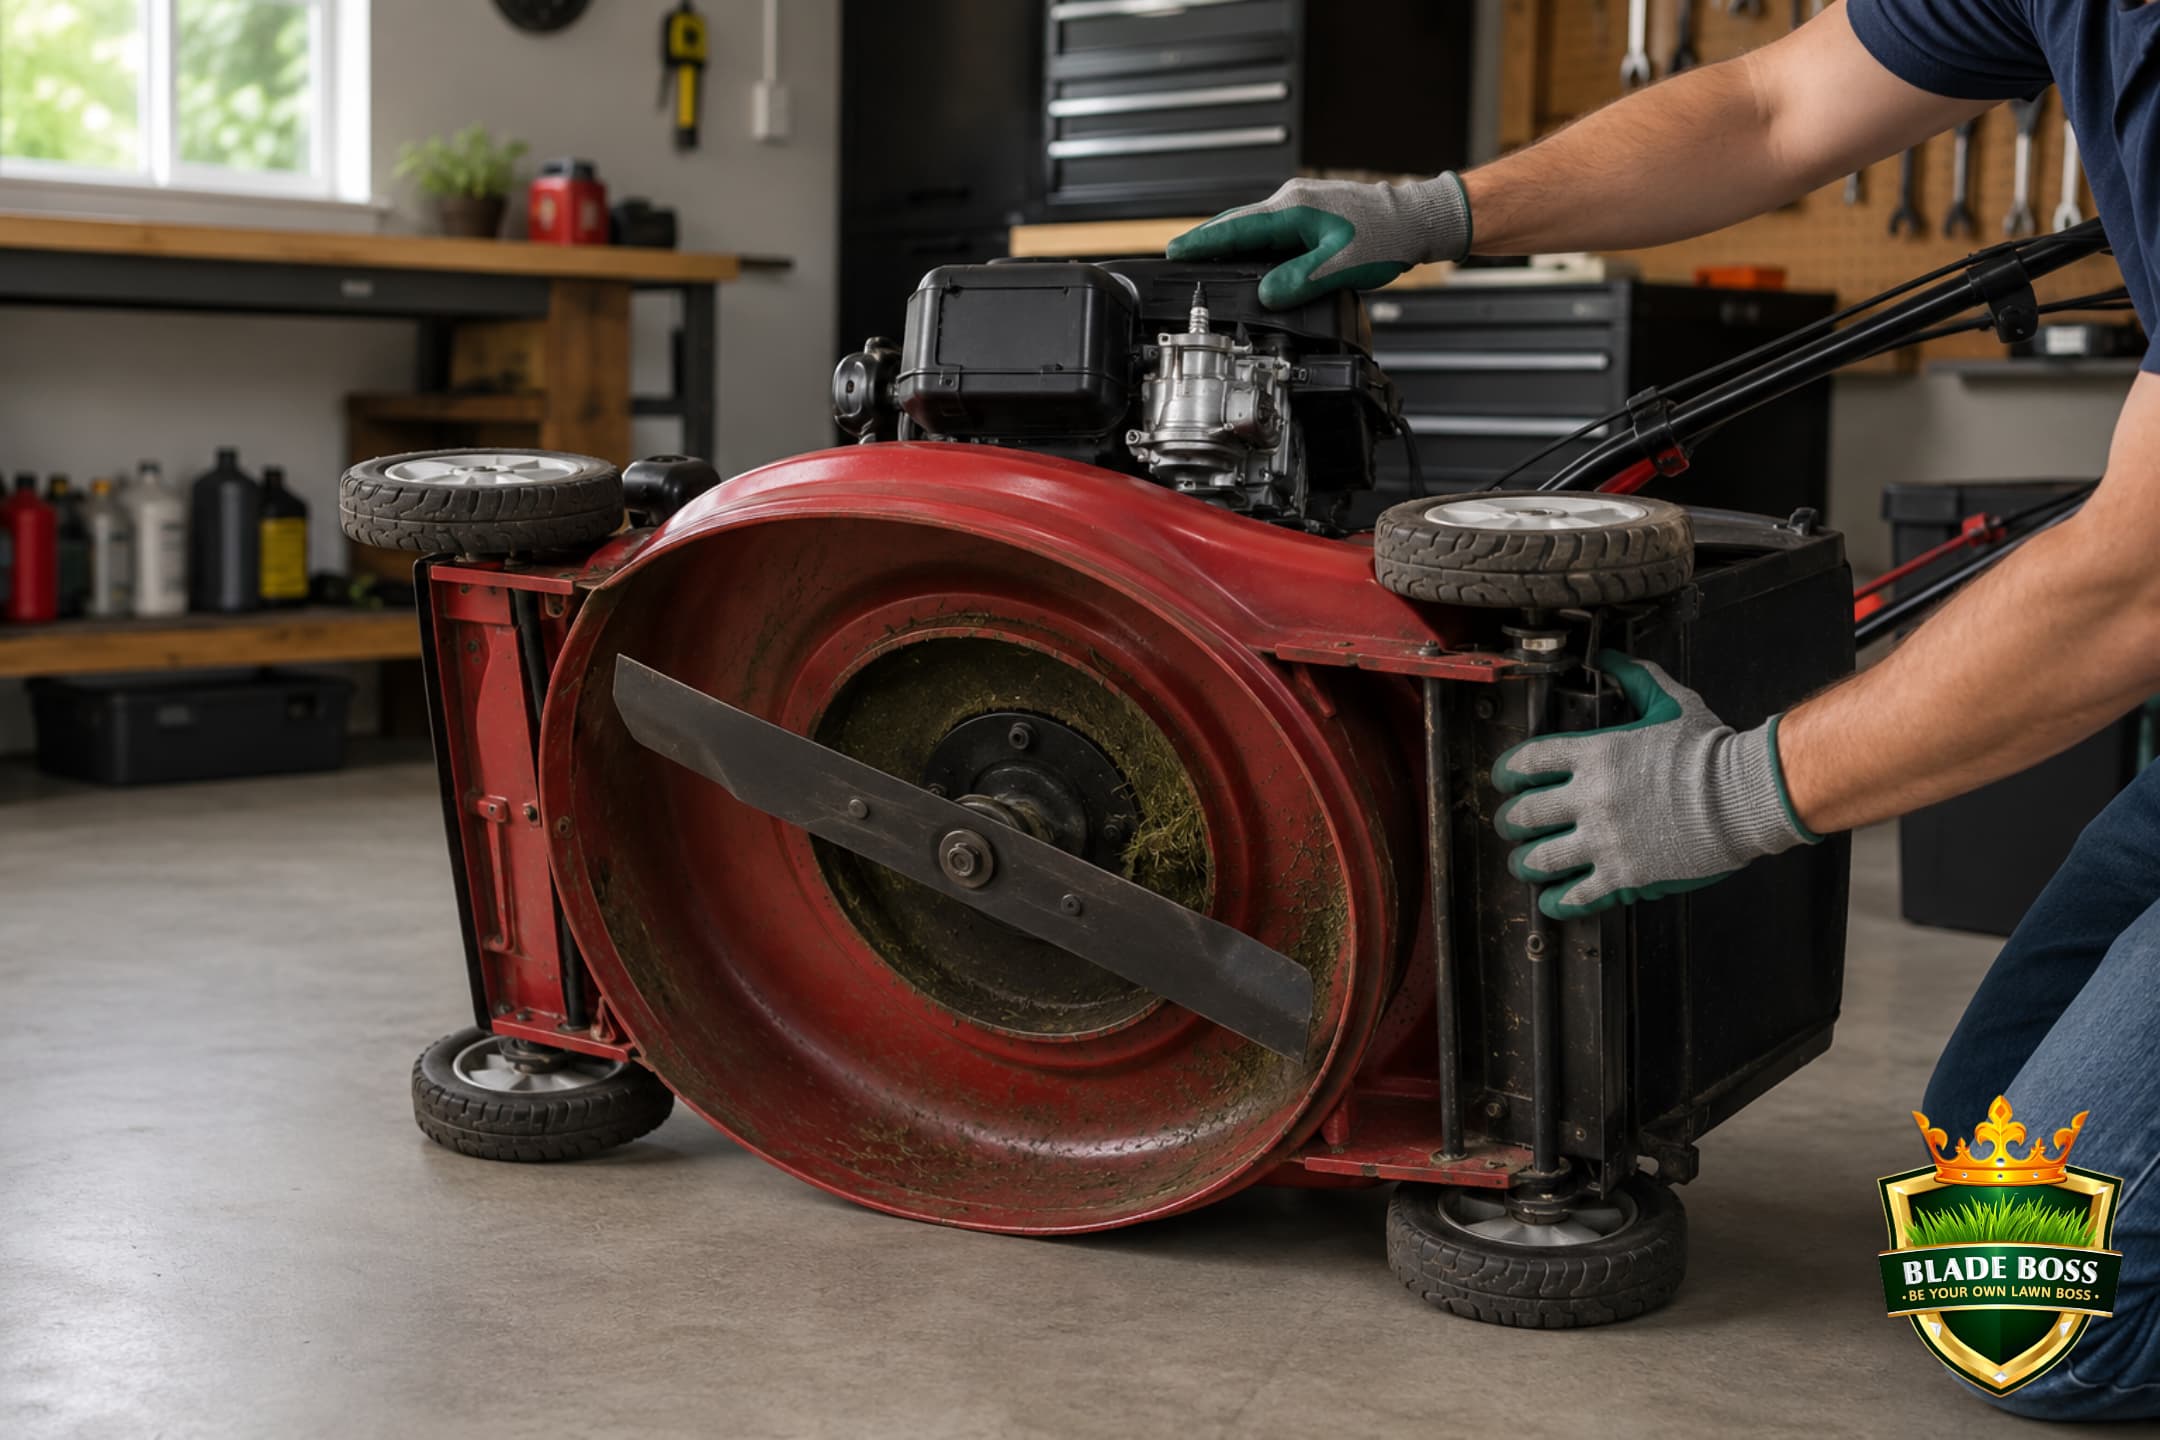
Now get to the blade. On most walk-behind mowers you tip the whole machine on its side, and which side matters more than most people think.
Mark It, Then Get the Blade Off
Before you loosen a thing, mark the face of the blade that points DOWN toward the grass. A paint pen dot or a scratch with a screwdriver is plenty. Mower blades cut in one direction only, and a blade bolted back on upside down will not cut grass at all, it just spins and disappoints you.
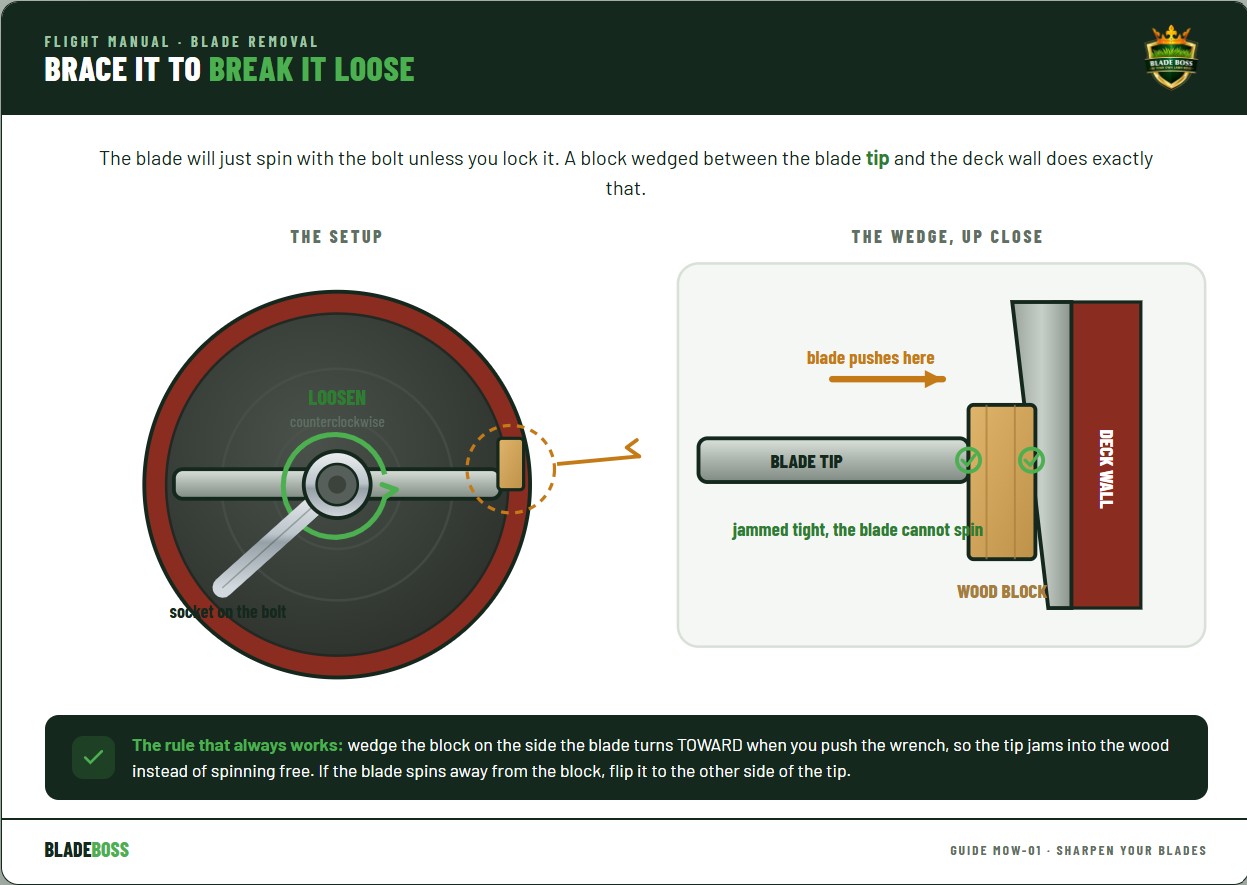
Wedge a block of wood between the blade and the deck so it cannot spin, then break the center bolt loose with a socket. Righty-tighty still applies on almost every mower, so turn it counterclockwise to loosen. If it is really seized, a shot of penetrating oil and a breaker bar beats rounding off the bolt head.
- Block the blade so it cannot rotate while you apply force.
- Loosen counterclockwise with a socket that actually fits, not a crescent wrench that will slip.
- Keep the bolt and any washers in a cup so nothing walks off.
Read the Blade Before You Grind
Two minutes of looking saves you from wasting effort on a blade that belongs in the recycling bin. You are sharpening the cutting edge, the beveled section along the leading corners, and nothing else. The raised tips, the lift wings, stay exactly as they are. They are what pulls the grass up and blows the clippings out, and grinding them changes how your mower cuts.
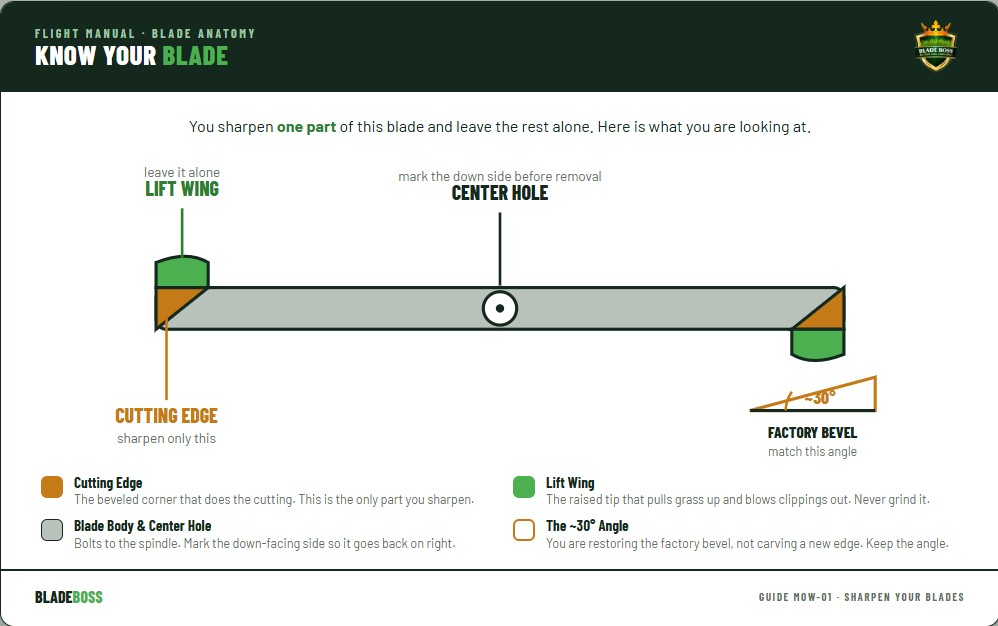
While the blade is off, decide whether it is even worth sharpening. Deep nicks you cannot grind out, a trailing edge worn thin as a dime, a blade that is visibly bent, or a center hole that has wallowed out into an oval: any one of those and you replace it, you do not sharpen it. A cracked blade is a grenade at 3,000 RPM. When in doubt, a new blade is twenty bucks and your fingers are not.
Sharpen to the Factory Angle
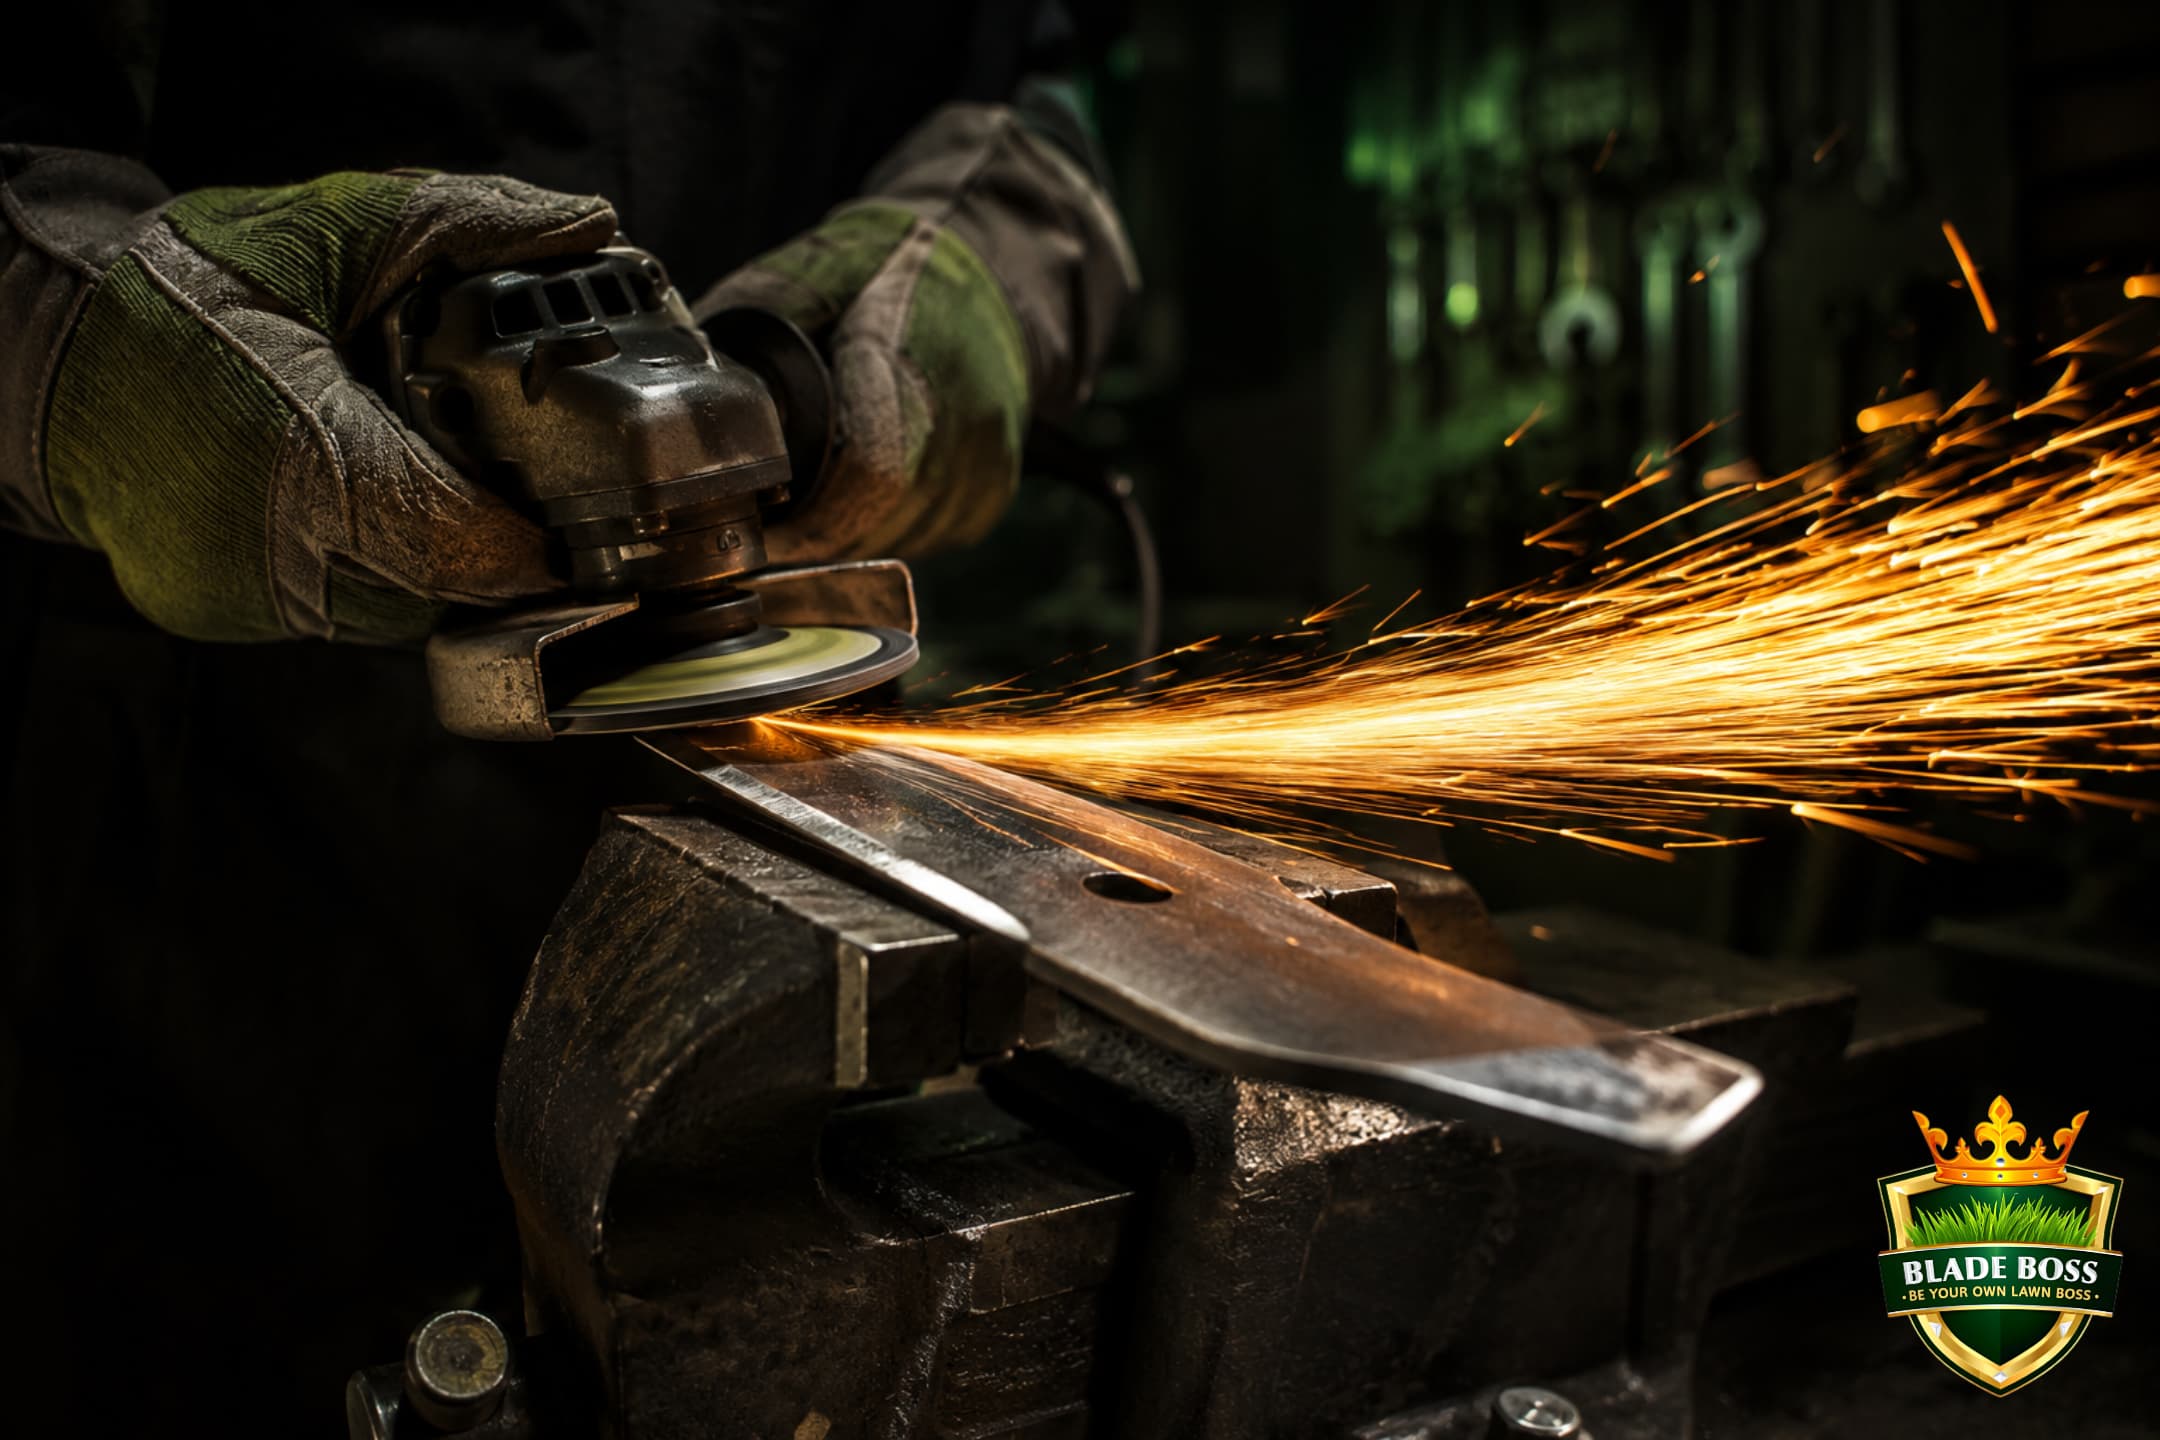
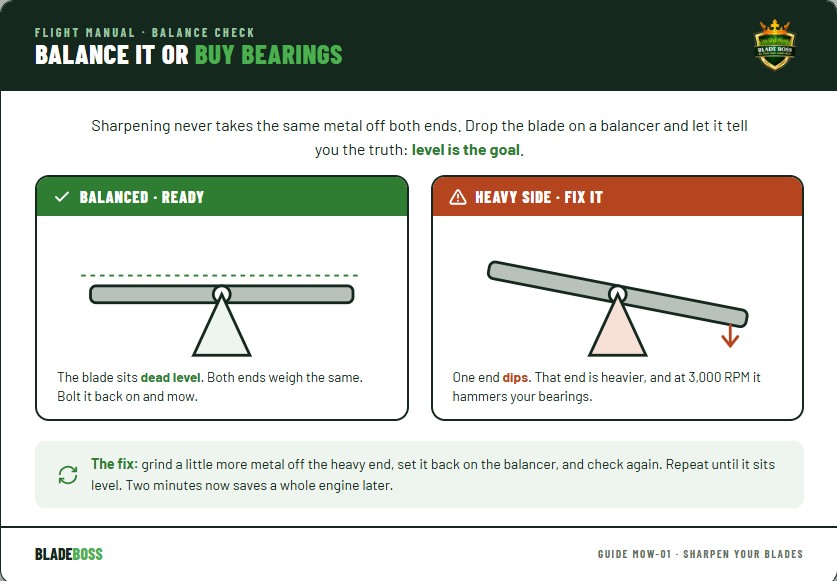
Clamp the blade in a bench vise so it cannot move. Whatever tool you are using, a hand file, a drill-mounted sharpening stone, or an angle grinder, the target is identical: follow the existing bevel, roughly 30 degrees, and restore a clean edge along it. You are matching the angle that is already there, not inventing a new one.
Sharpen it to butter-knife sharp, not razor sharp. A rotary mower blade cuts by speed, not by a fine edge, and a razor edge chips and rolls within an hour of hitting the first stick. You want an edge that will shave a curl off a sheet of paper, not one that will shave your arm.
Balance It, or Buy New Bearings Later
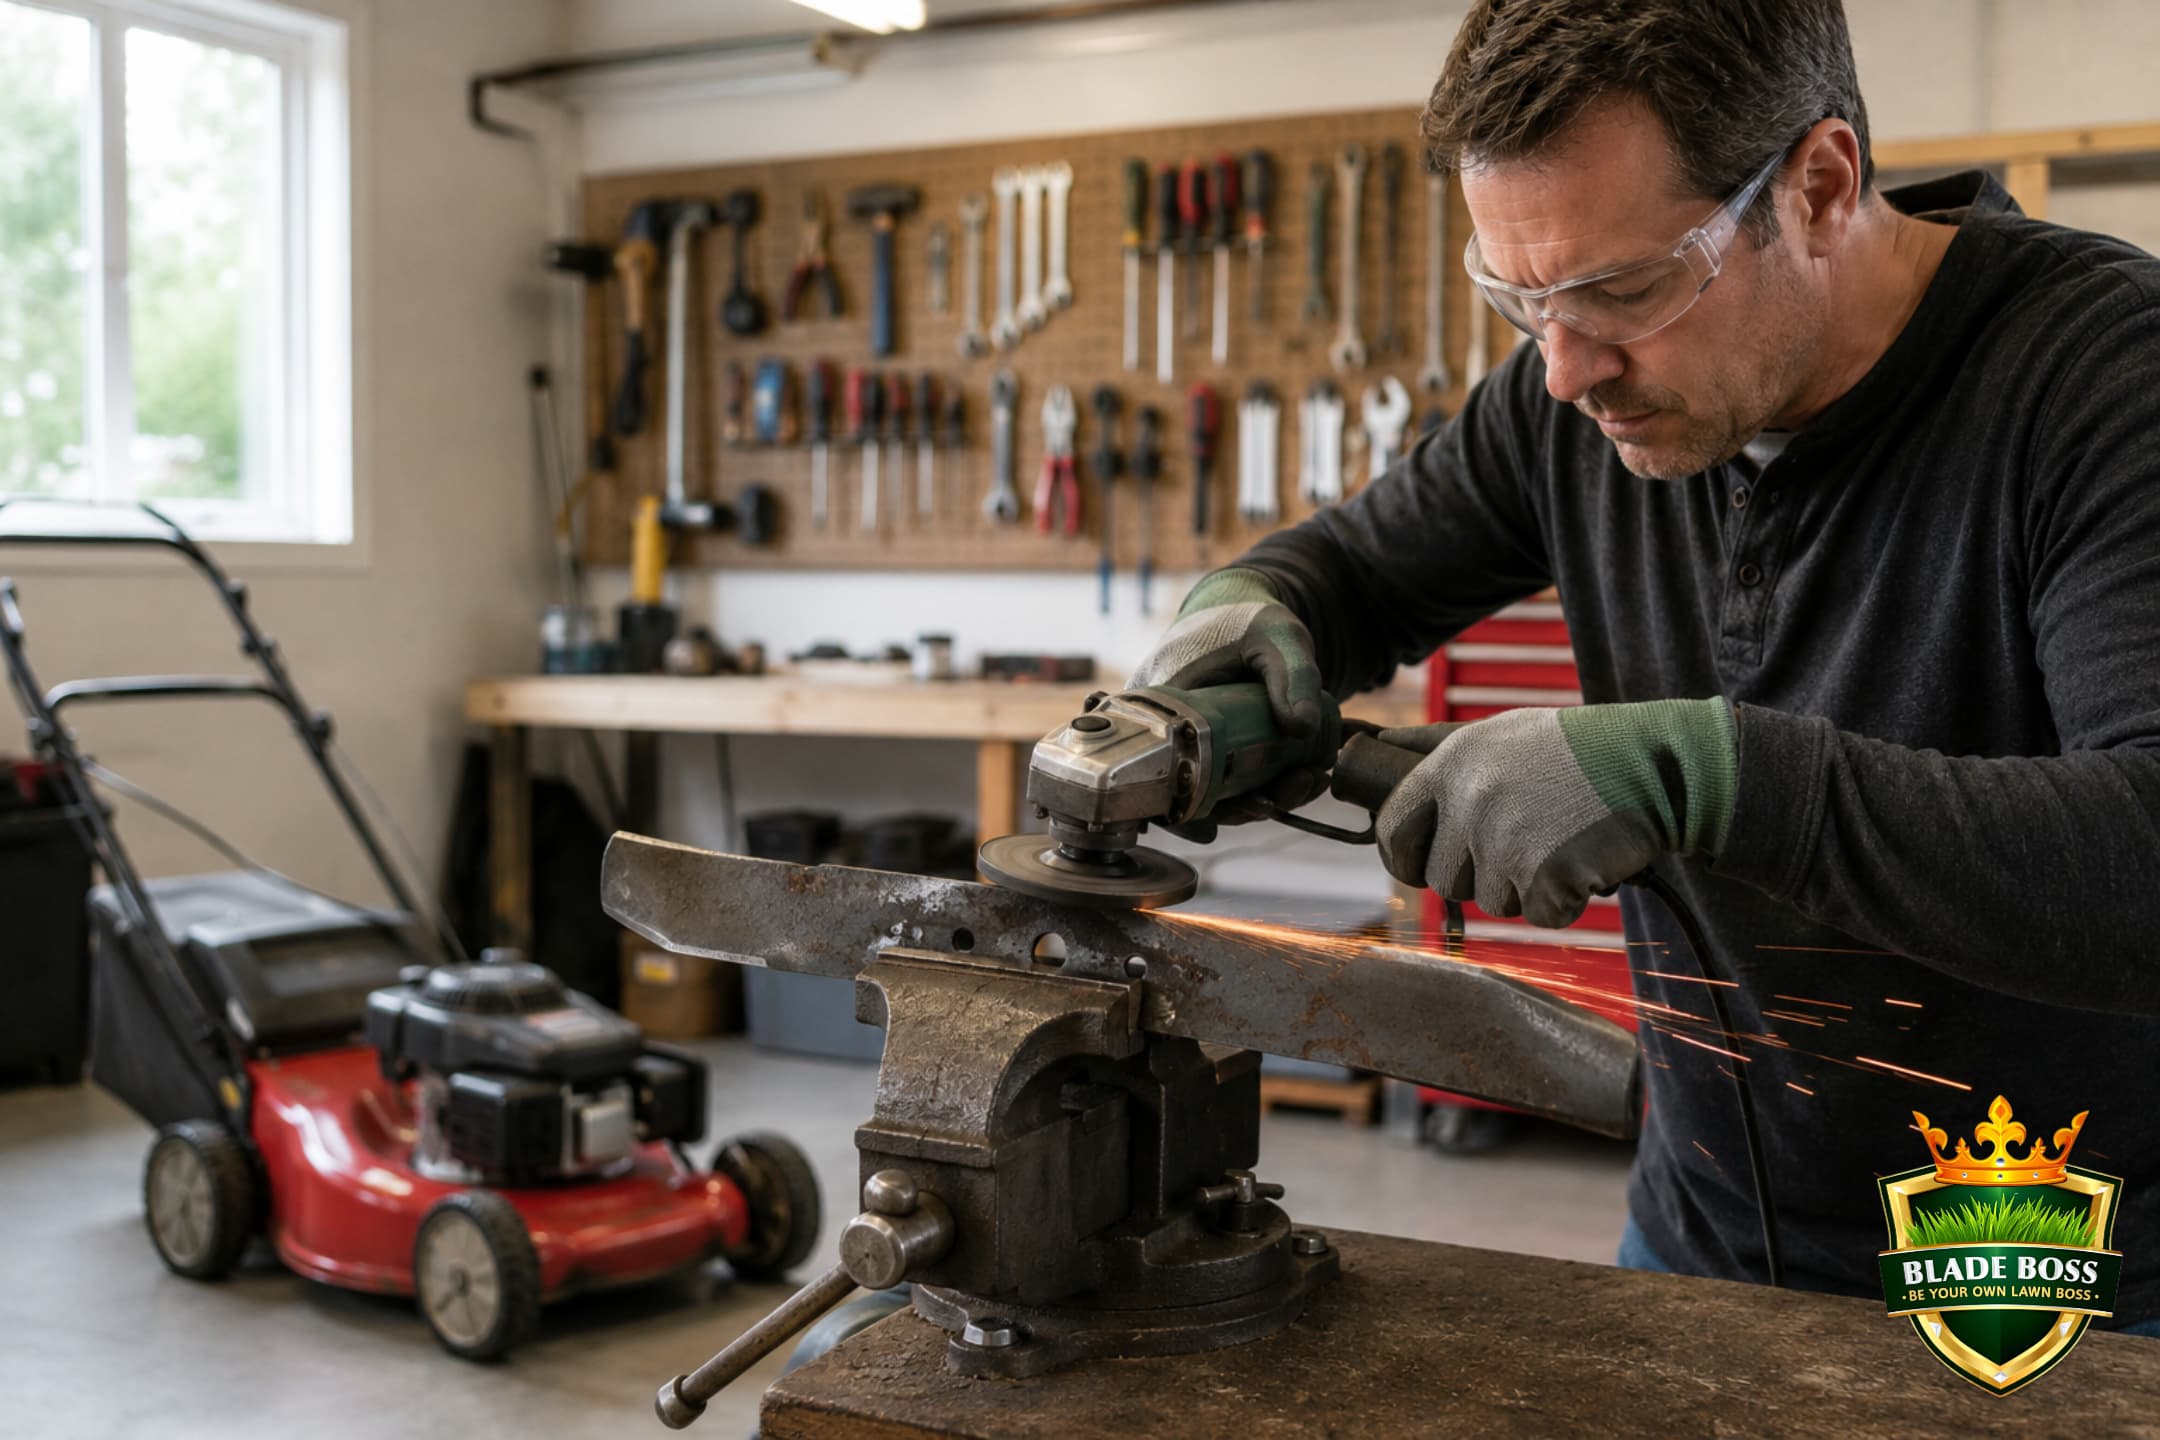
This is the step everyone skips and everyone regrets. When you sharpen, you never remove exactly the same amount of metal from both ends. Now one end is heavier, and a heavier end spinning at 3,000 RPM is a vibration that hammers your spindle bearings and, given enough time, bends the crankshaft. That is a cheap engine turned into a boat anchor over a five-dollar shortcut.
Drop the blade onto a cone balancer, or hang it level on a nail through the center hole. If one end dips, that end is heavy. Take a little more metal off the heavy end, back on the balancer, check again. Repeat until it sits dead level. It takes two minutes and it is the difference between a mower that lasts fifteen years and one that shakes itself apart in five.
Reinstall and Torque to Spec
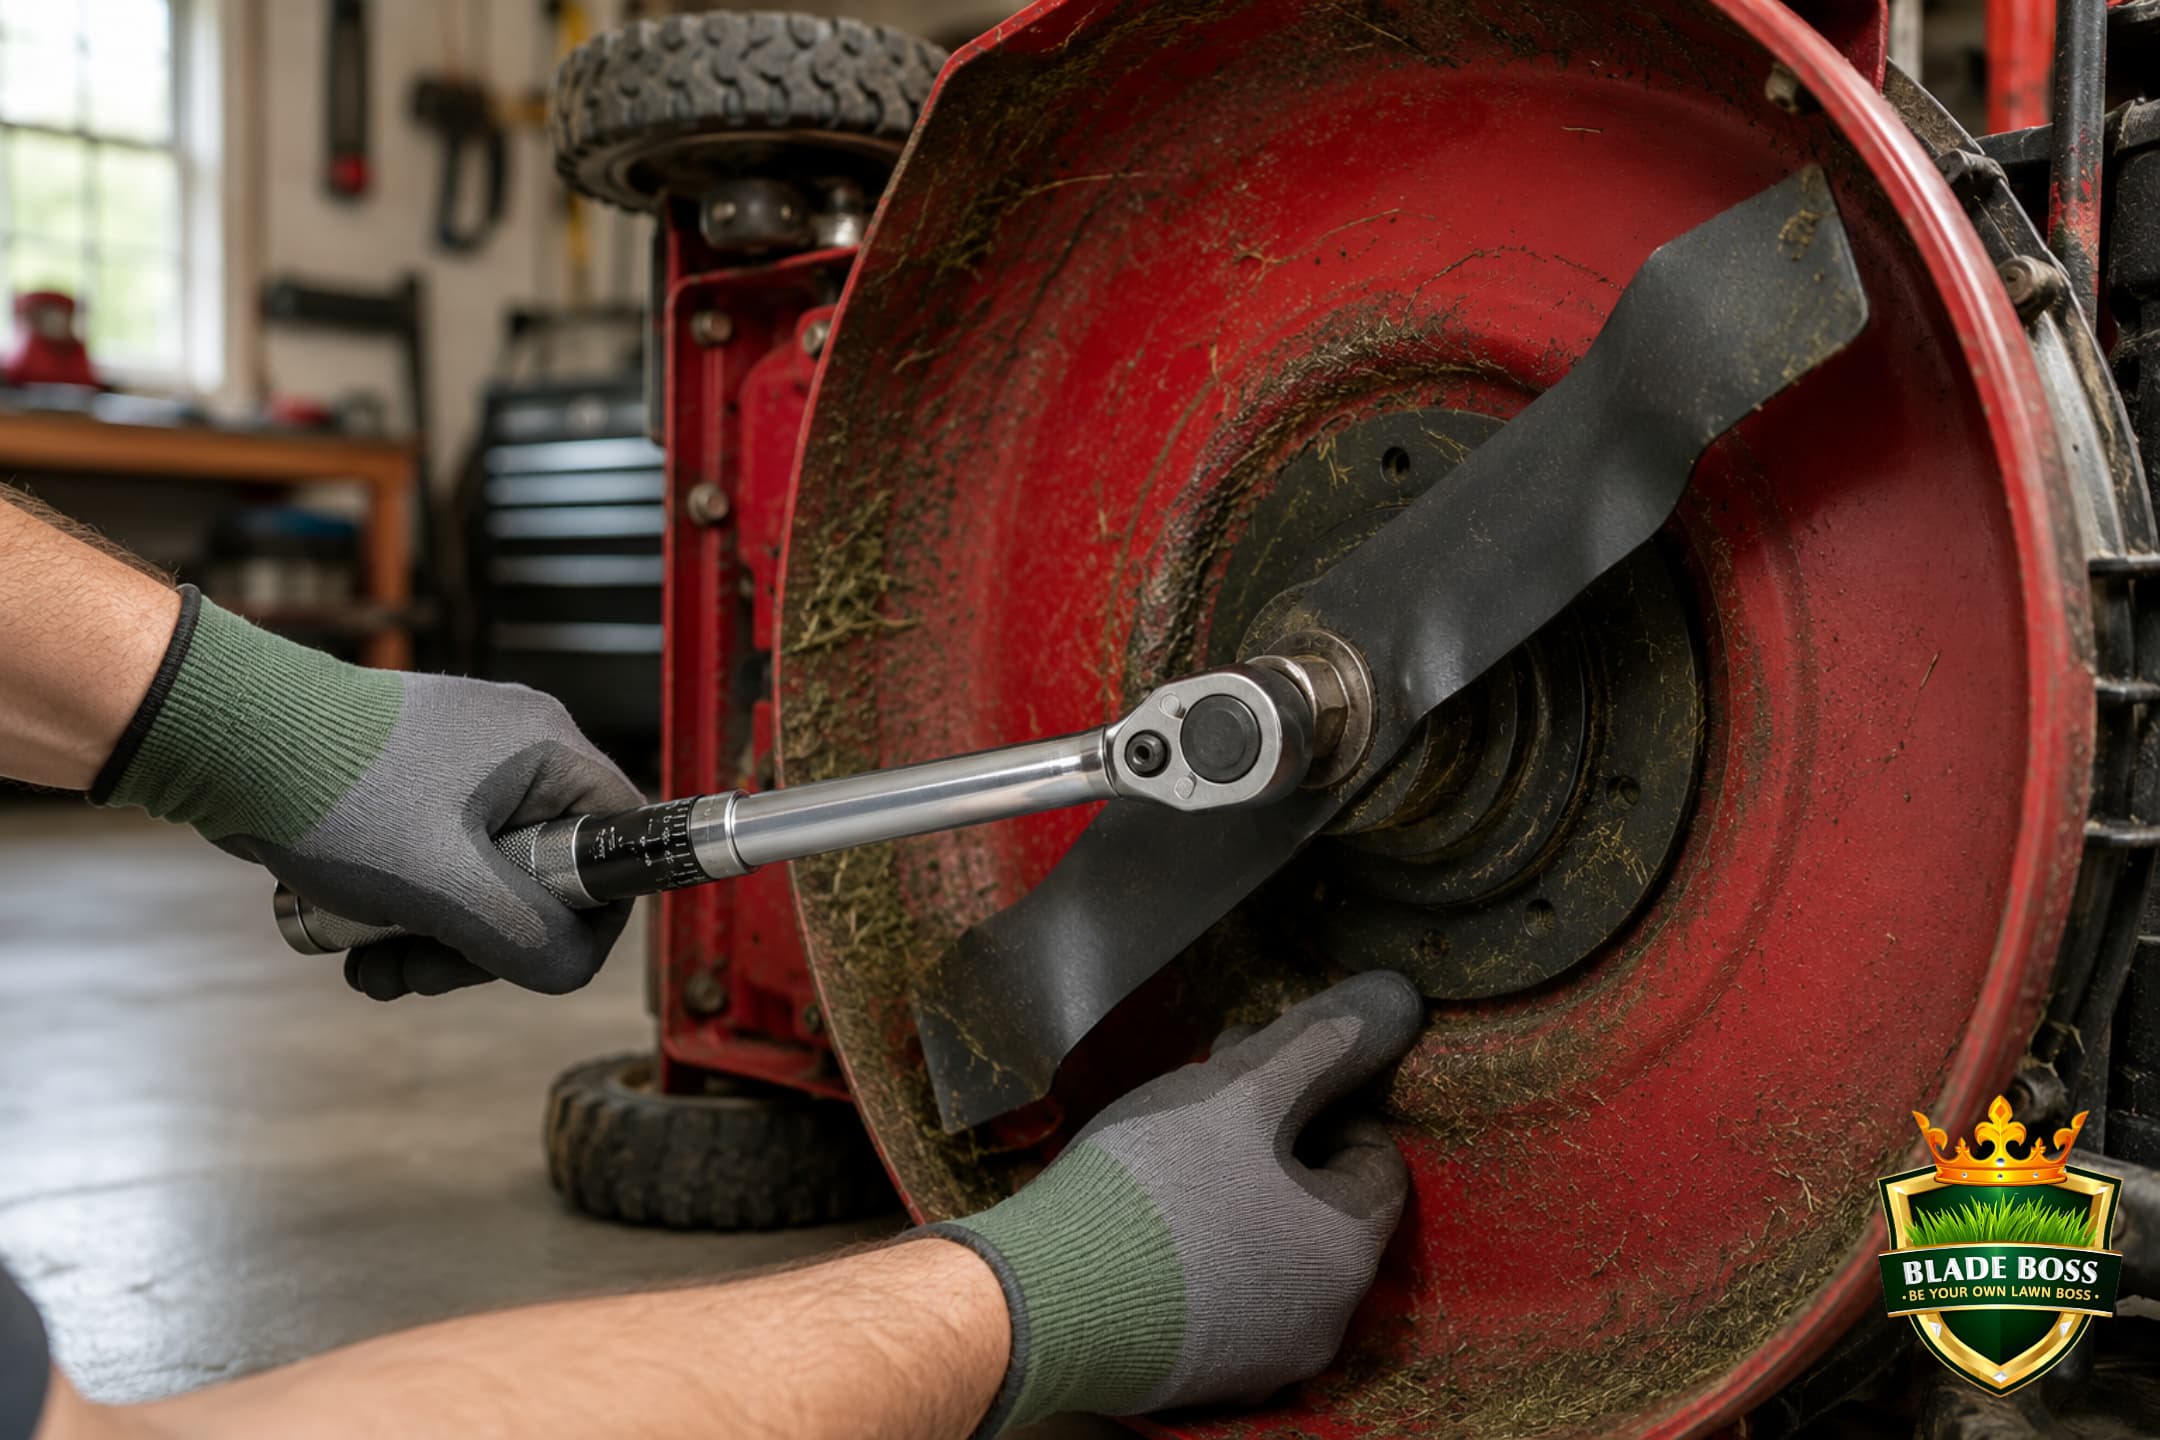
Bolt the blade back on the right way up. Remember your mark: the side you marked faces DOWN toward the grass, and the lift wings, the raised tips, point UP toward the deck. Get this backward and your freshly sharpened blade will not cut a thing.
Reconnect the spark plug wire LAST, only after the blade is torqued and your hands are clear. Give the blade one slow hand-spin to confirm it clears the deck, and you are done.
Keep It Sharp
One sharpening is not a season. For most yards, a blade needs a fresh edge every 20 to 25 hours of mowing, or two to three times across the season. Hit a rock, a root, or a sprinkler head, and you check it that same day, because one bad strike undoes everything you just did.
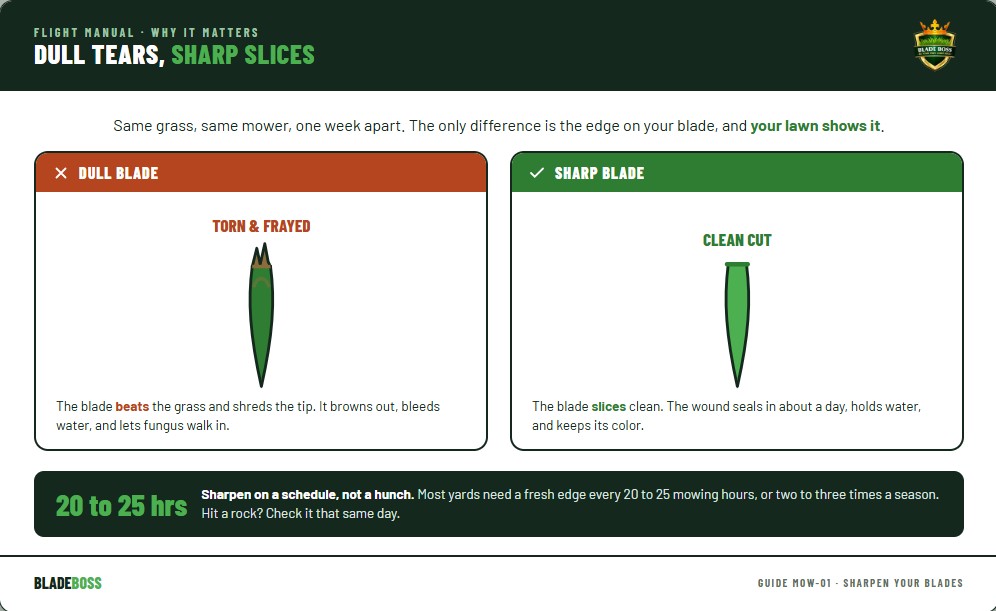
University turf extensions are unanimous on why this matters: a clean cut seals over in about a day, while a shredded tip stays open, loses water, and hands fungus an easy entry point. If you want to stop guessing when it is due, a small engine hour meter on your mower turns 'it feels dull' into an actual number.
Abort Criteria - Common Mistakes
Mission Complete. Now Fly the Plan.
Sharpening the blade is one task. Your lawn has forty more, and every one of them has a right way to do it and a season it belongs in. The Blade Boss Playbook is the whole system in order: the exact tasks, timing, and products for a lawn like yours, so you stop guessing and start operating. It is the foundation every Stripe Master membership is built on, and the fastest fifteen dollars-per-month decision you will make for your yard.
Want This as a Printable Field Manual?
Drop your email and the print-ready PDF version lands in your hands. Take it to the lawn, no phone required.
Crew Questions - FAQ
How often should I sharpen my mower blade?
For most yards, every 20 to 25 hours of mowing, or two to three times across the season. If you hit a rock, root, or sprinkler head, inspect it that same day, because one bad strike can undo a fresh sharpening instantly.
Do I really need to balance the blade?
Yes, and it is the step people skip and regret. Sharpening never removes exactly the same metal from both ends, so one end ends up heavier. That imbalance at 3,000 RPM hammers your spindle bearings and can bend the crankshaft. A cone balancer costs a few dollars and takes two minutes.
File, drill sharpener, or angle grinder, which is best?
All three work. A hand file is the slowest but nearly impossible to mess up. A drill-mounted sharpener is the middle ground. An angle grinder is fastest but overheats a blade quickly, and heat is the one thing that ruins a blade while sharpening it. Beginners should start with a file or a drill sharpener.
How sharp does a mower blade need to be?
Butter-knife sharp, not razor sharp. A rotary mower cuts by blade speed, not by a fine edge, and a razor edge chips and rolls within an hour of hitting the first stick. Aim for an edge that will shave a curl off paper, not one that will shave your arm.
Which way does the blade go back on?
The lift wings, the raised tips, point UP toward the deck, and the flat cutting side faces DOWN toward the grass. The easiest way to never get this wrong is to mark the down-facing side with a paint pen before you ever remove the blade.
When should I replace the blade instead of sharpening it?
Replace it if it has deep nicks you cannot grind out, a trailing edge worn thin as a dime, a visible bend, or a center hole that has wallowed out into an oval. A blade that far gone will not balance and a cracked one is dangerous. A new blade is cheap next to your spindle or your fingers.